I know this is going to seem super random because it has nothing to do with my business, but I am too excited about this not to share. 🙂 Also, I’m going to start sharing more non-photography things on my blog, anyway, so this can just help me jumpstart that.
So. A live edge wood cheese board. How did this come about. Well…
A friend of mine recently launched a wine company called Mash Record Wines. Said friend also had a birthday coming up and I wanted to give them something unique. So I thought to myself, “Hmmm, cheese goes with wine, maybe I can buy a nice cheese board and have it engraved with the MRW logo,” which turned into, “I love live edge wood, maybe I can find one of those and have it engraved,” which then turned into, “Screw that, I’m getting my own live edge wood and creating the whole dang thing myself!”
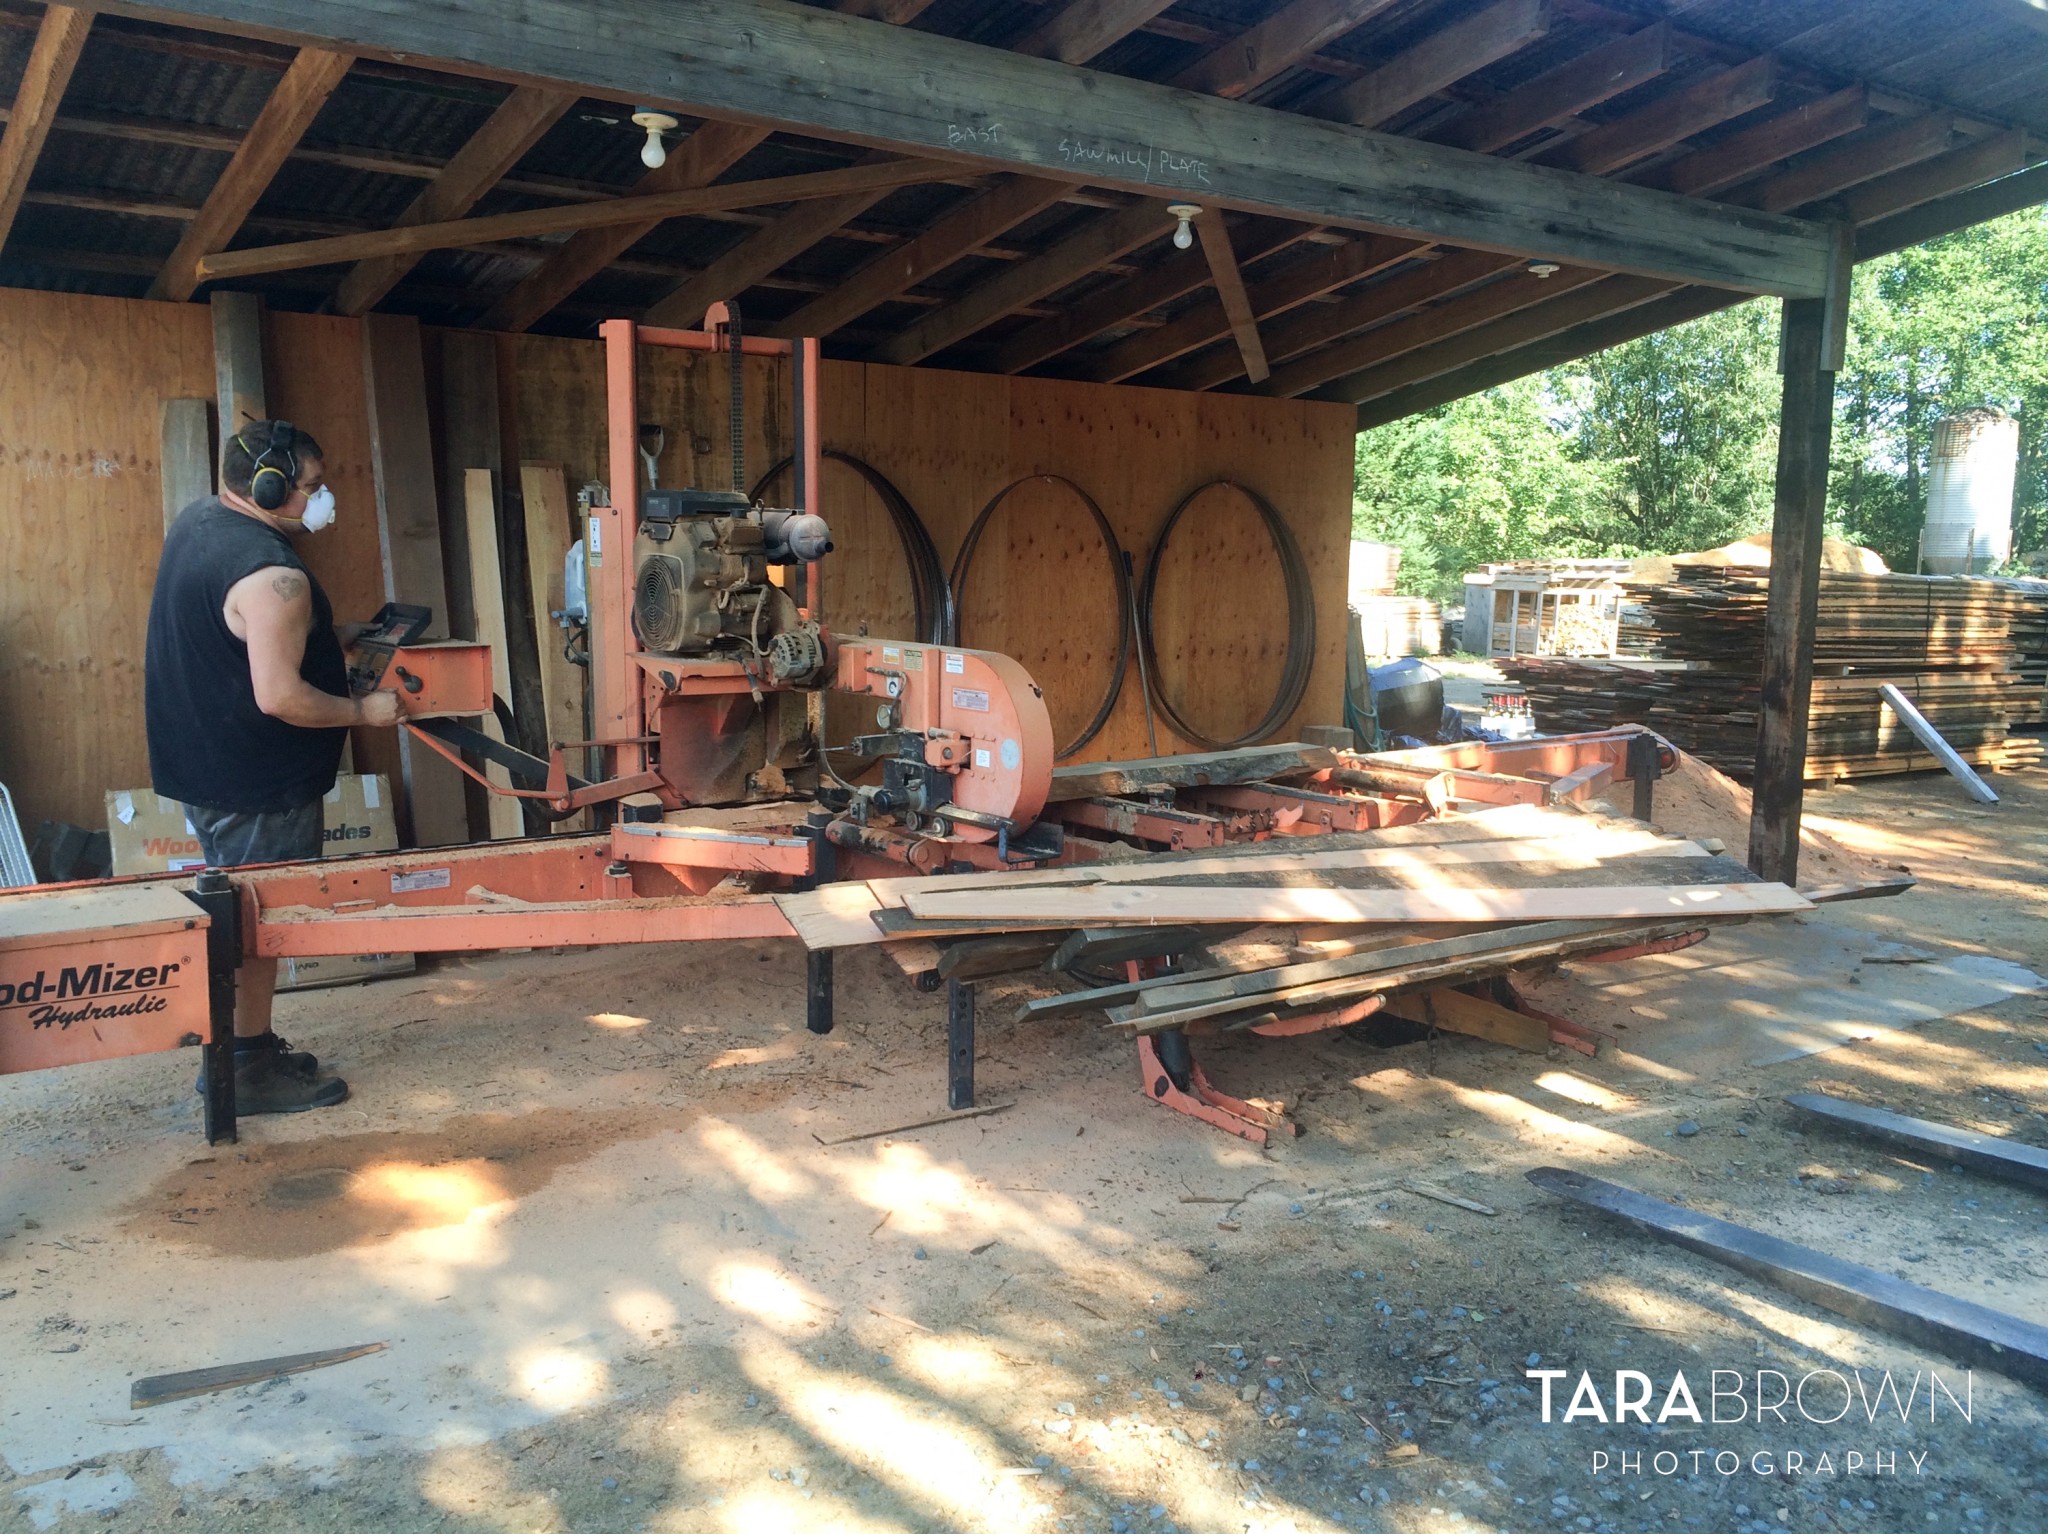
So, after much googling (found this blog post) and contacting some wood working stores, I came across Live Edge Woodworks, which is officially one of my new favorite places. I emailed a bit with Kim Hoelting, the owner, to see if he might have wood that I could use. They usually work on super fancy projects like slab tables and headboards made out of tree trunk cross sections, but he graciously said he would help me find some wood for my less glamourous project. 🙂 A few mornings later I ferried to Whidbey Island and made my way to Live Edge, where Kim greeted me and showed me around their site. They have some beautiful projects in the works, and it was really neat to learn more about what they do there. Then we went into a room that had standing rows upon rows of various wood slabs that were just wide enough for the type of board that I wanted to make, but would need to be sawed into smaller pieces. I ended up choosing a gorgeous piece of rare Pacific yew, as well as an alder slab, from which we’d be able to make about 12 boards.
We took the wood down to the sawmill where Jeff sawed the piece of alder into a more manageable thickness, and then Kim and Johannes helped me to plane, sand, and de-bark (technical term?) the wood.

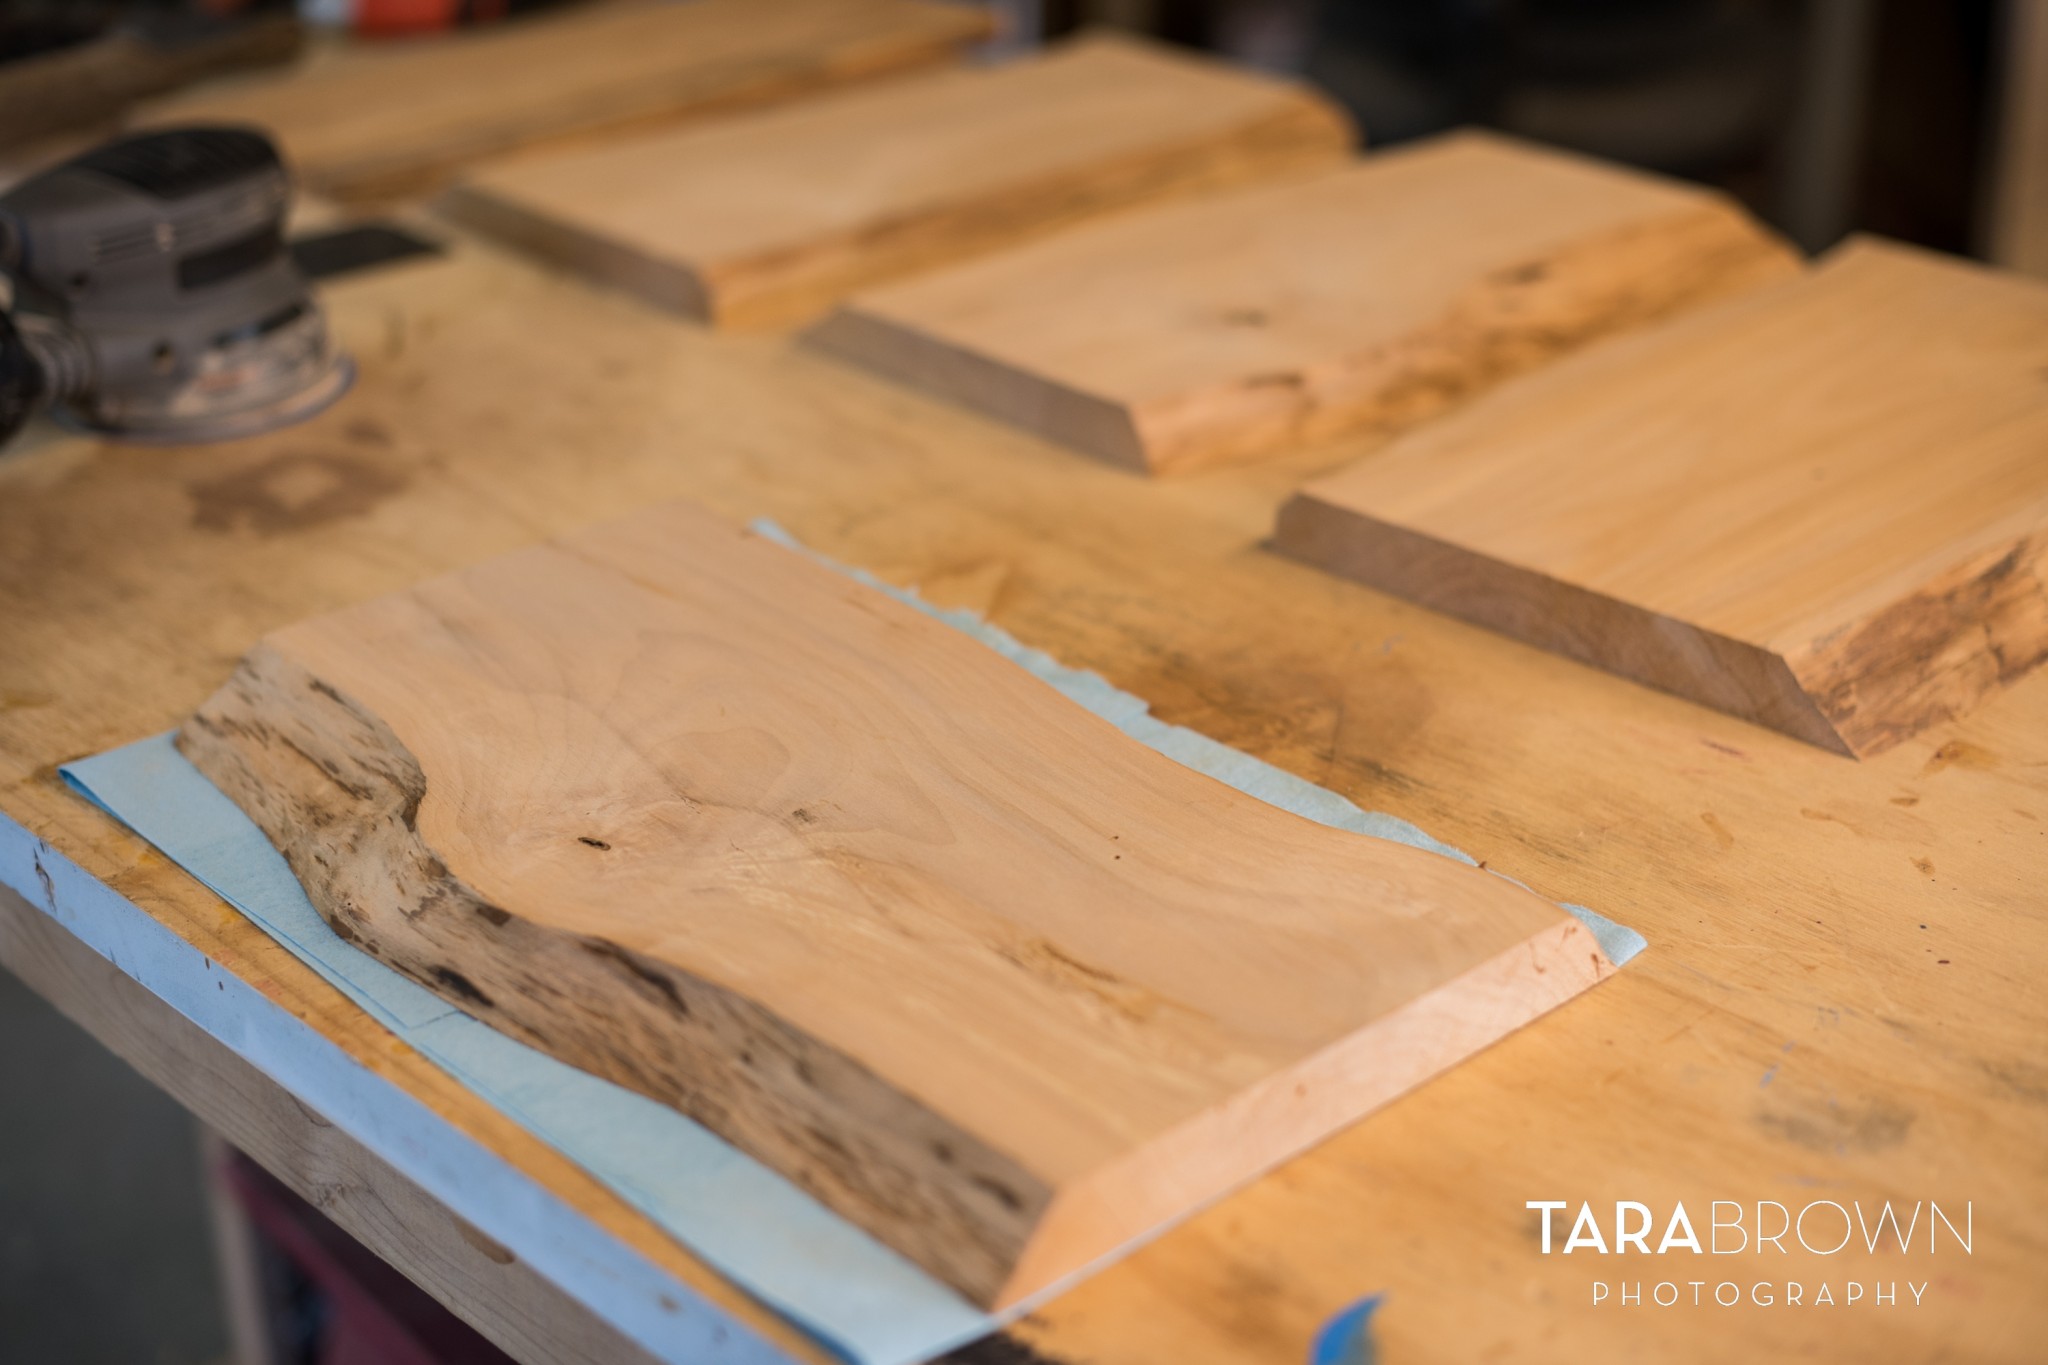
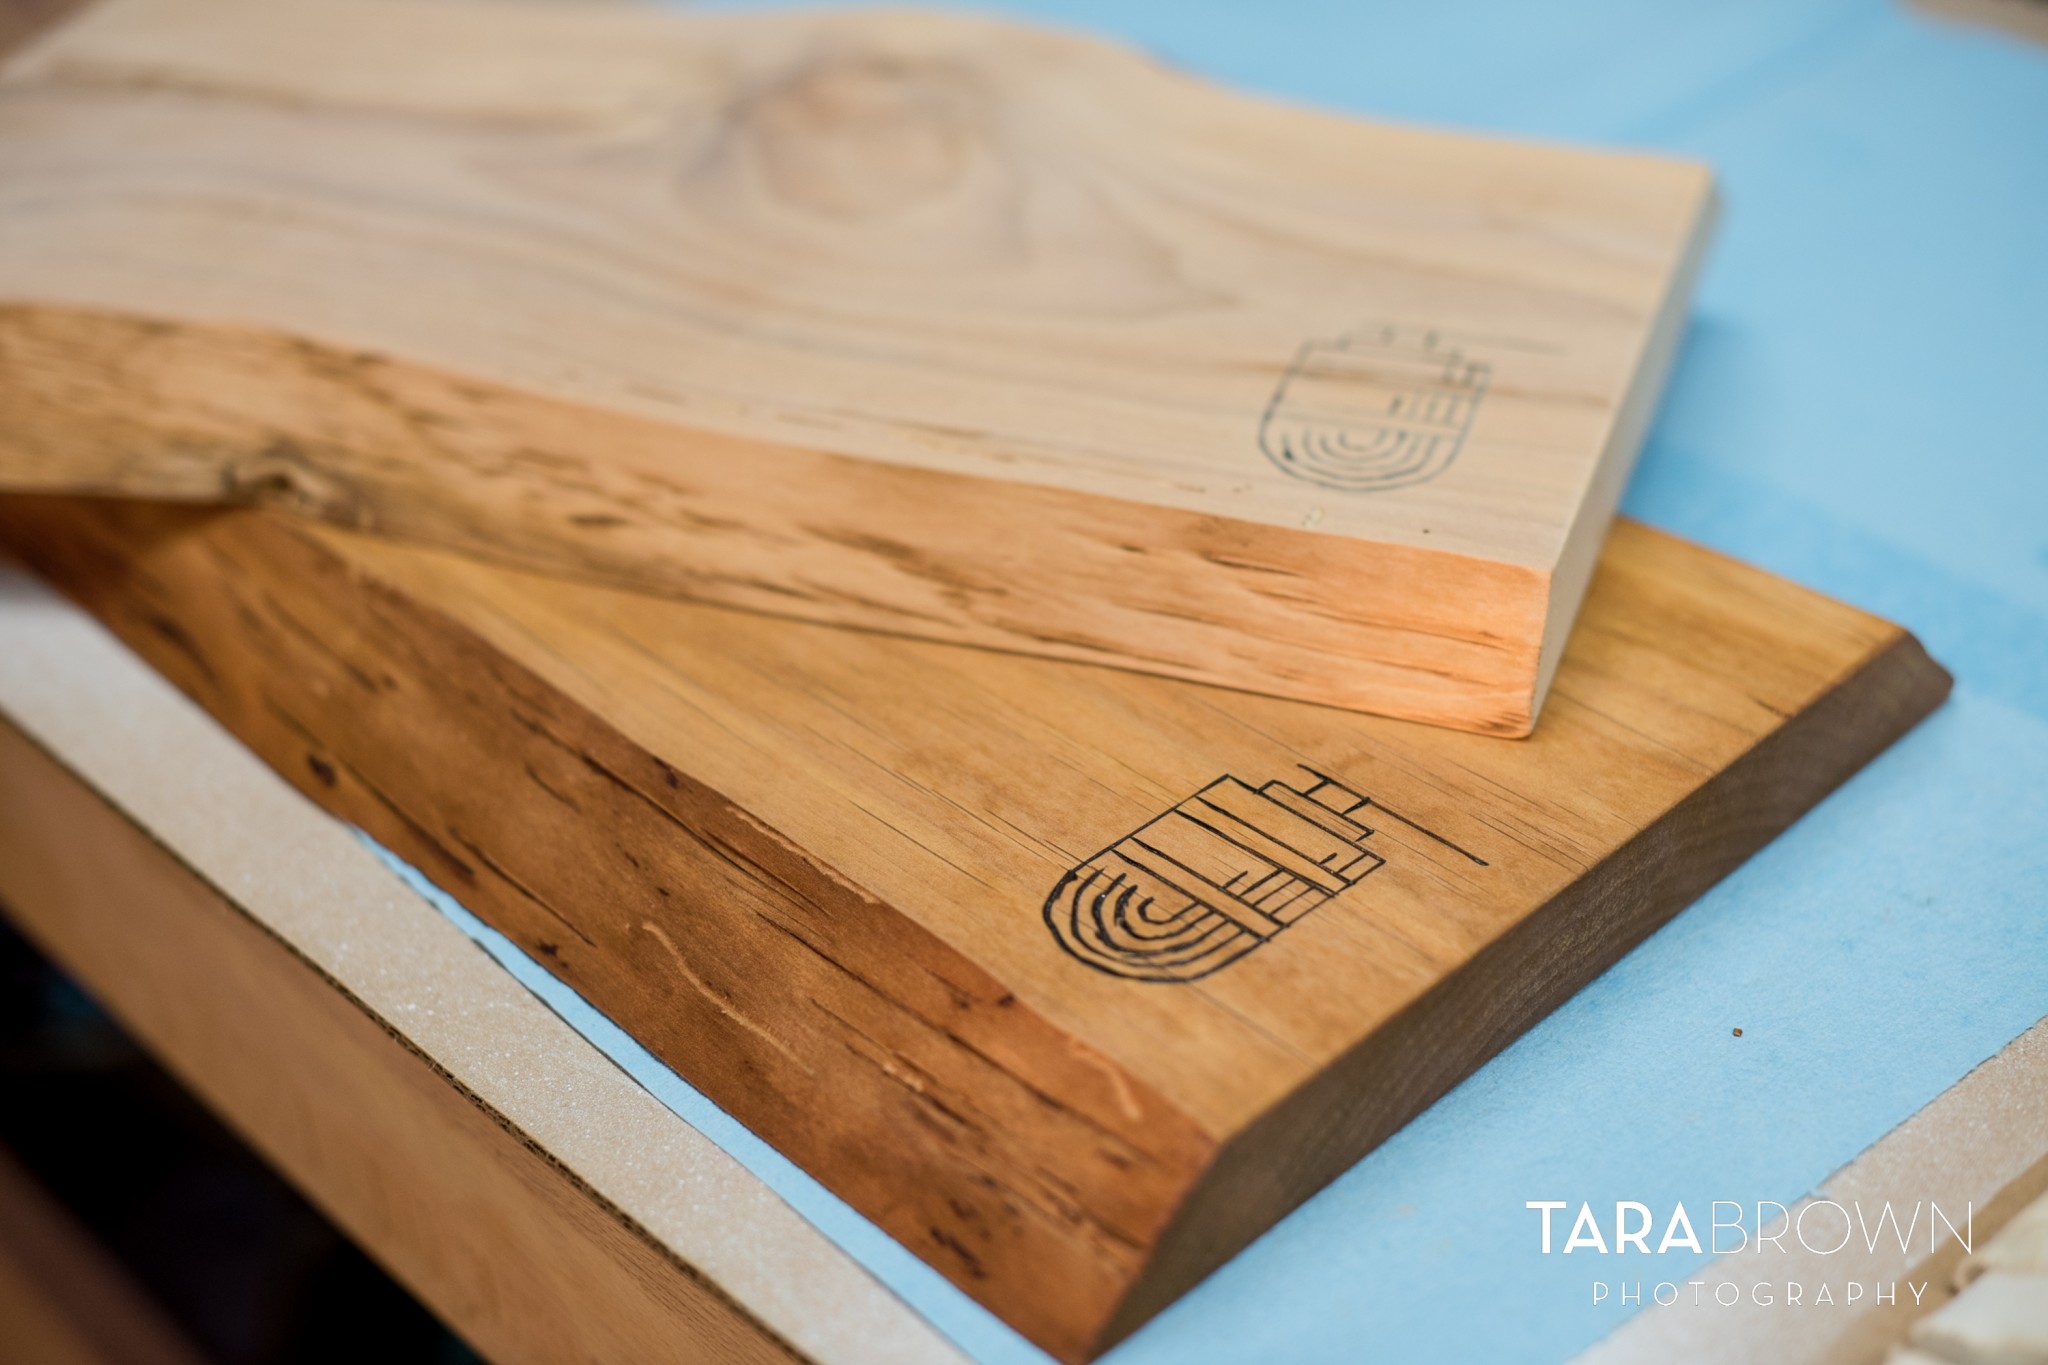
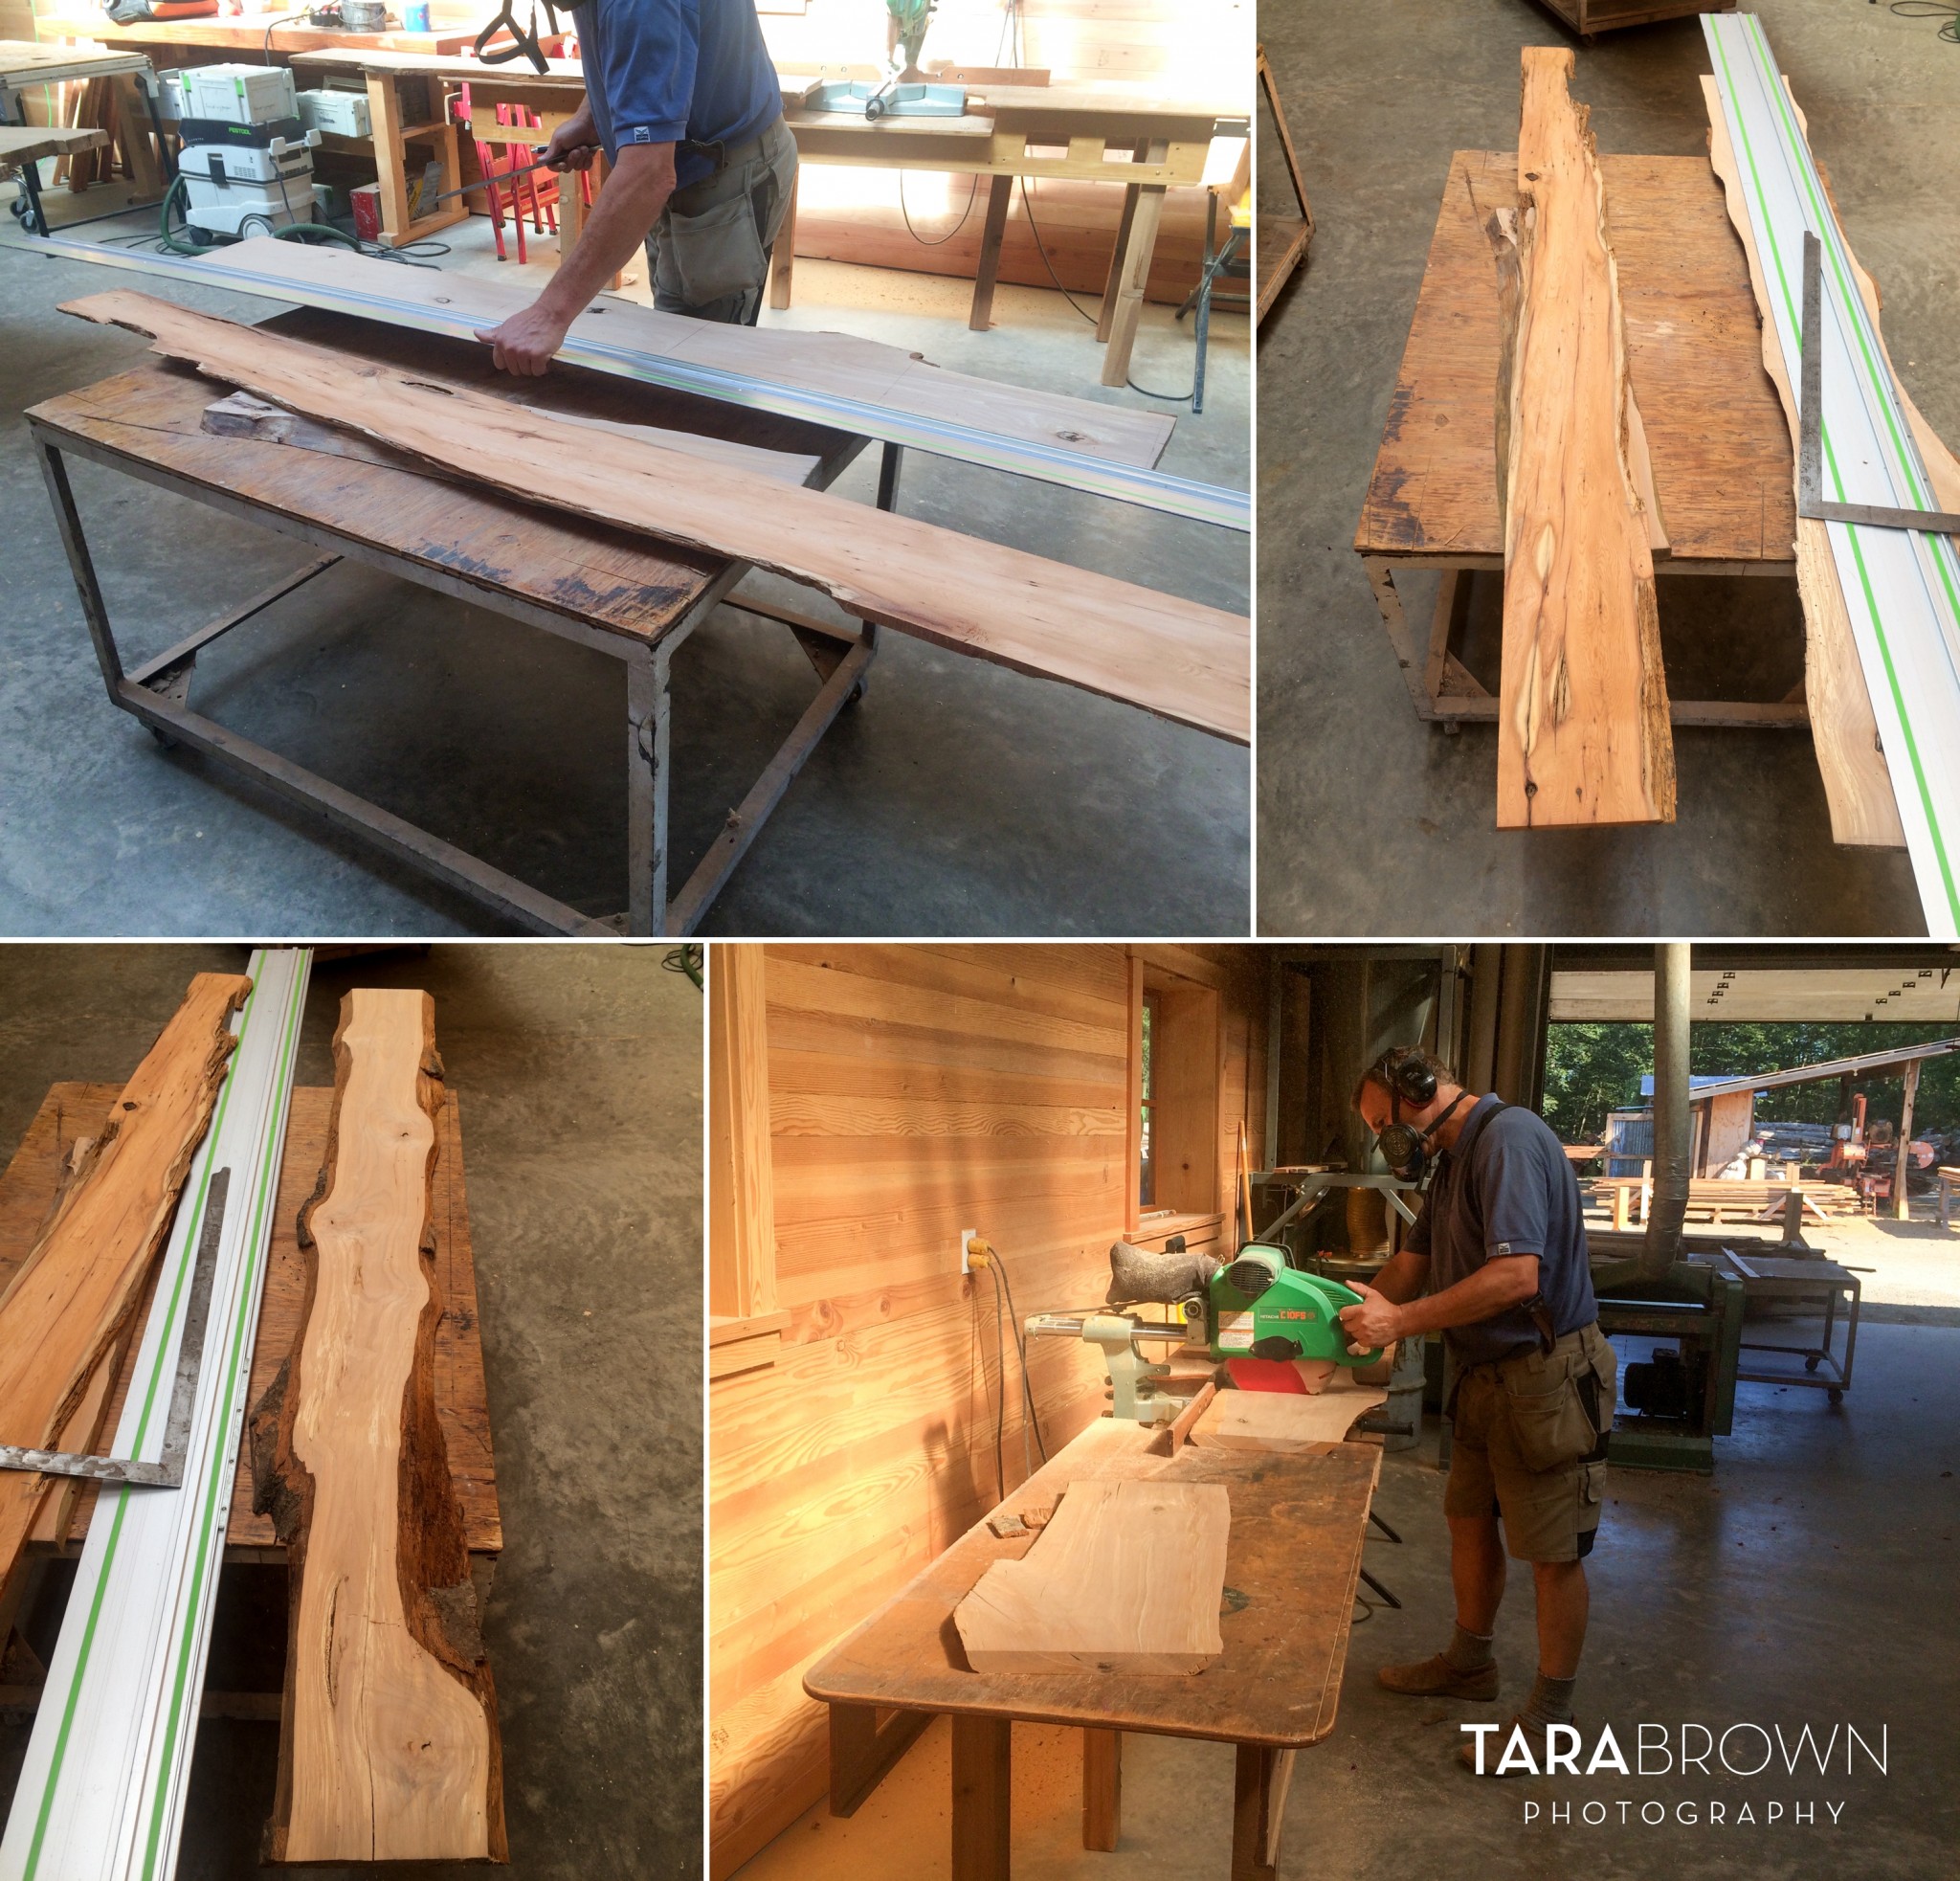 Awesomeness about to happen, can you feel it?! That piece that looks different is the Pacific yew.
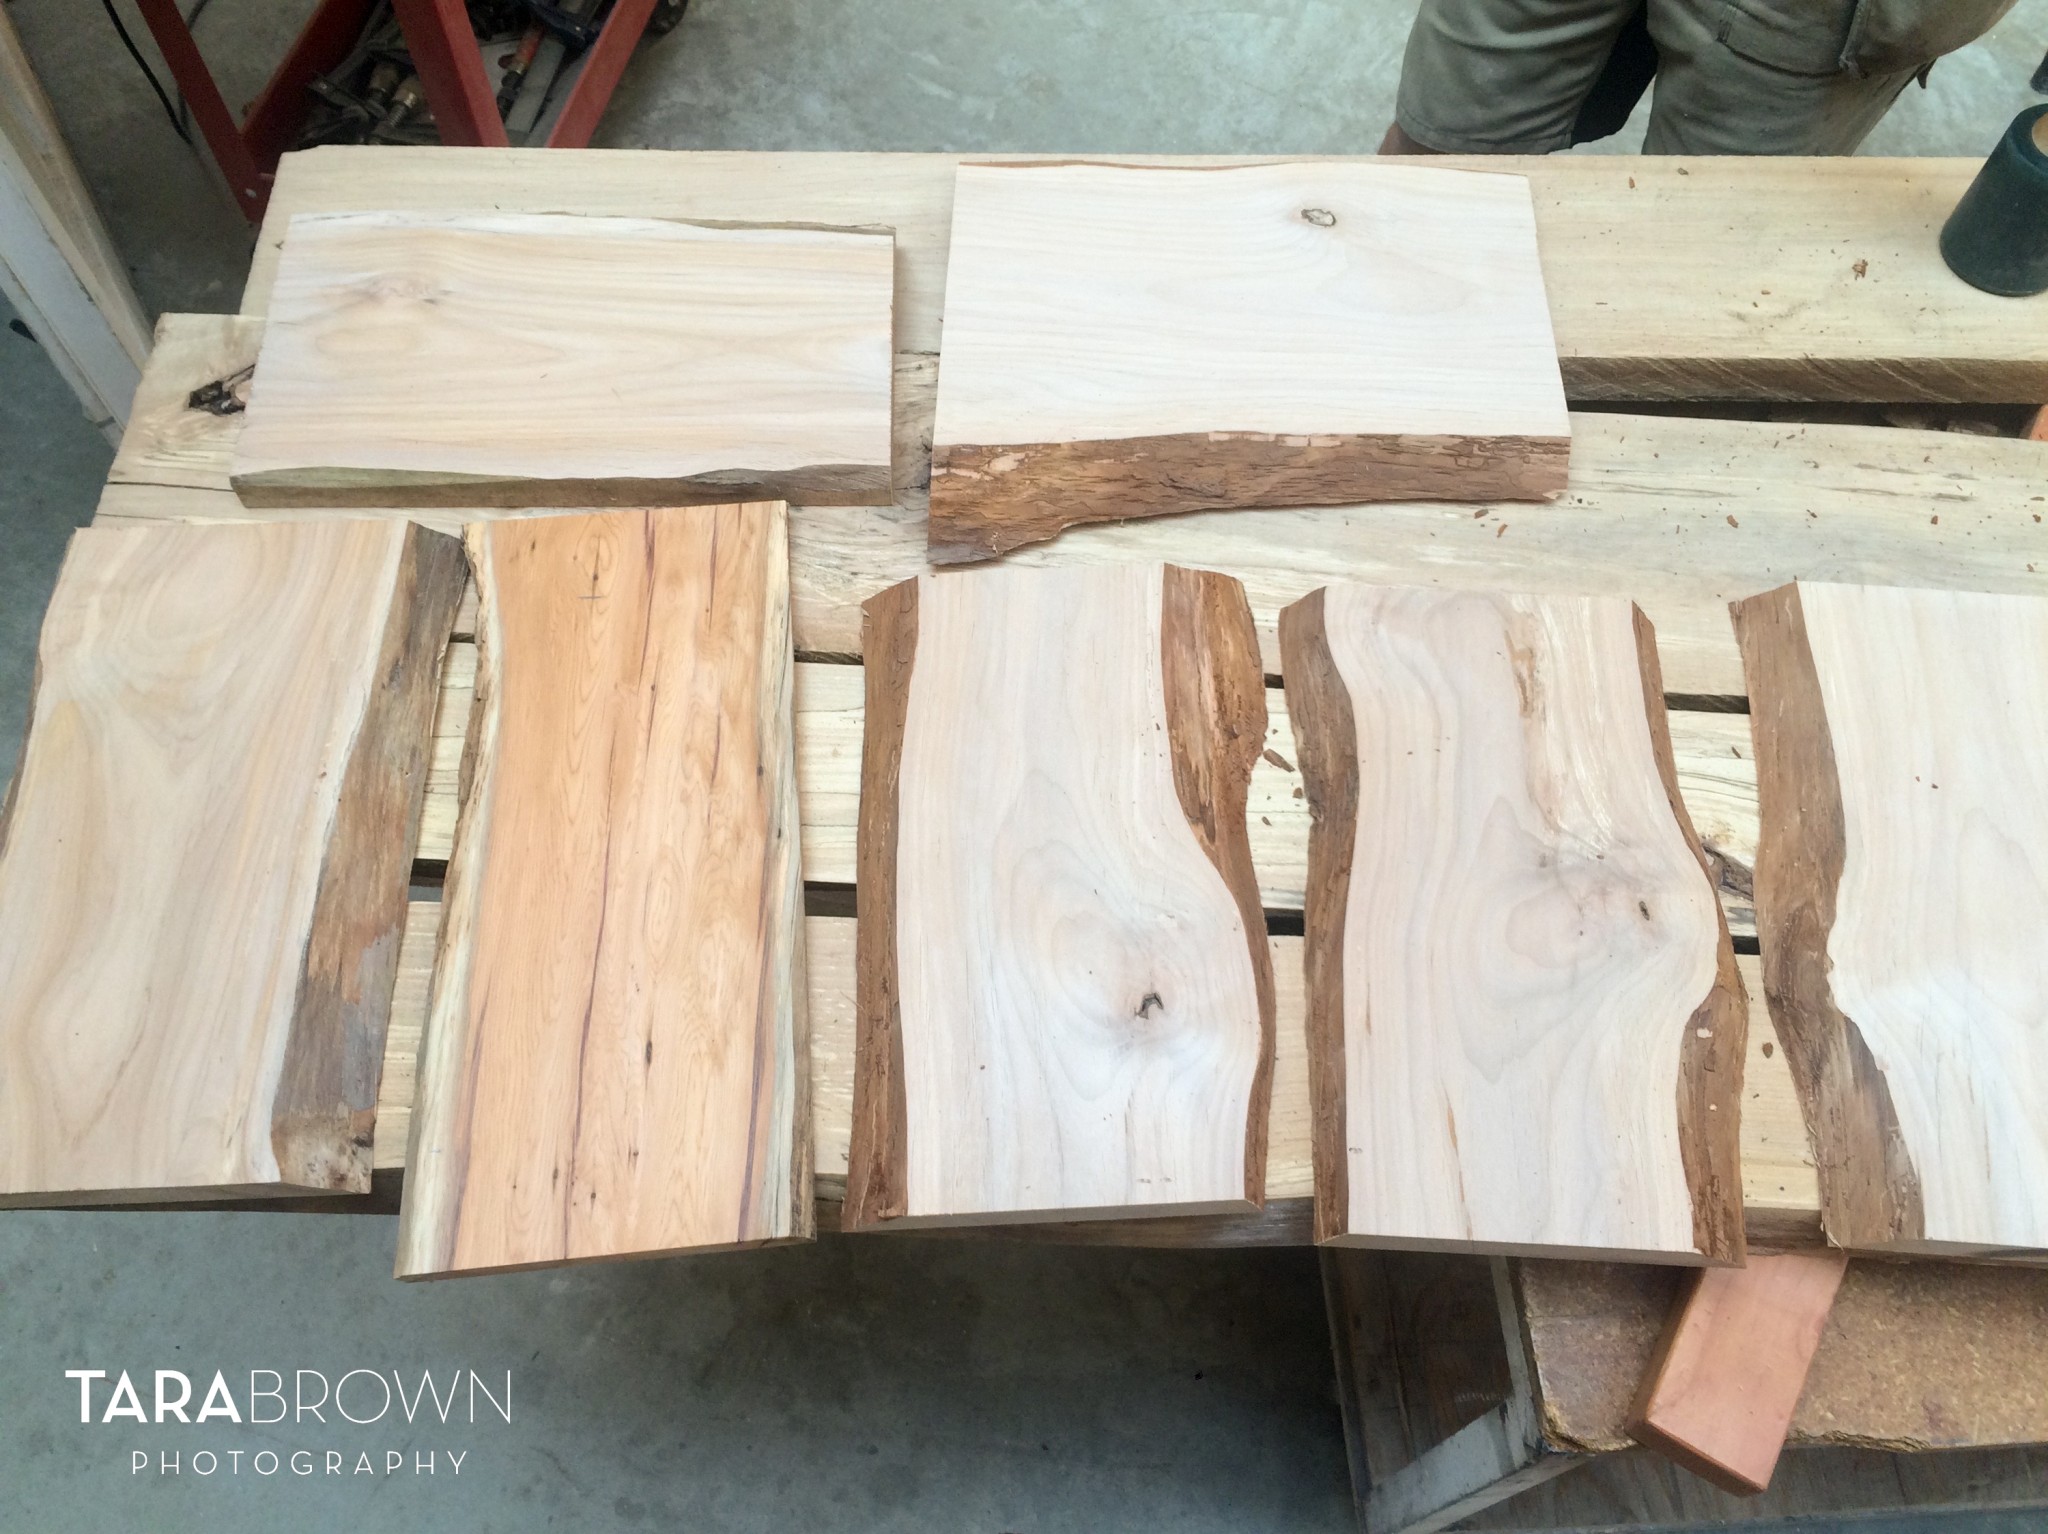
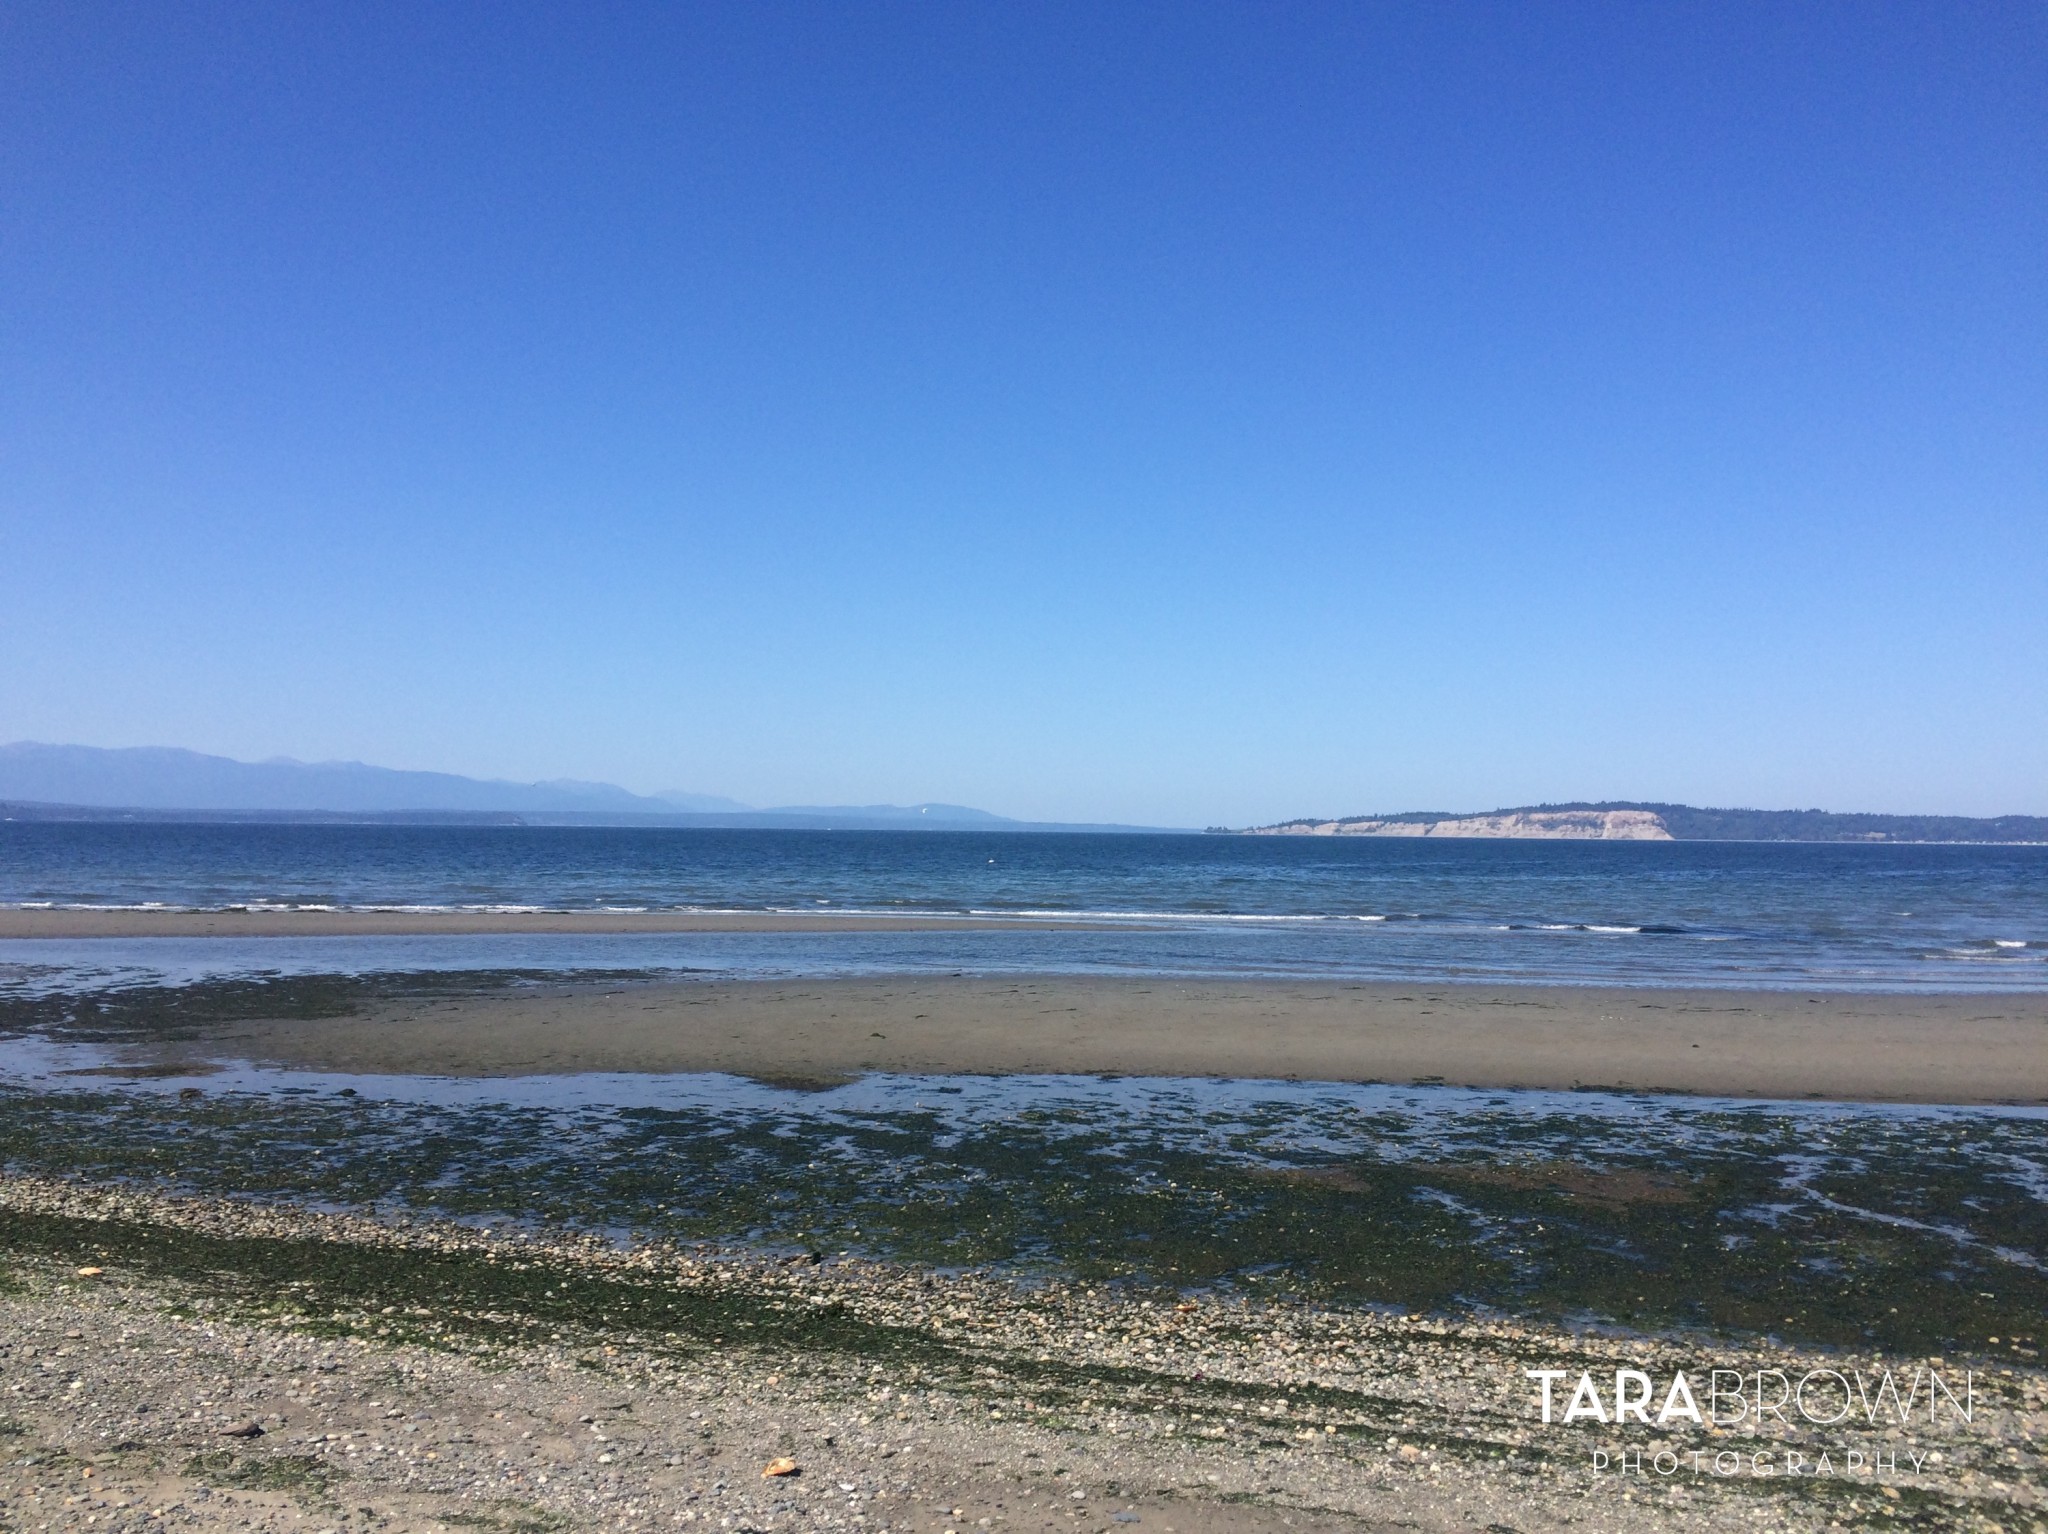
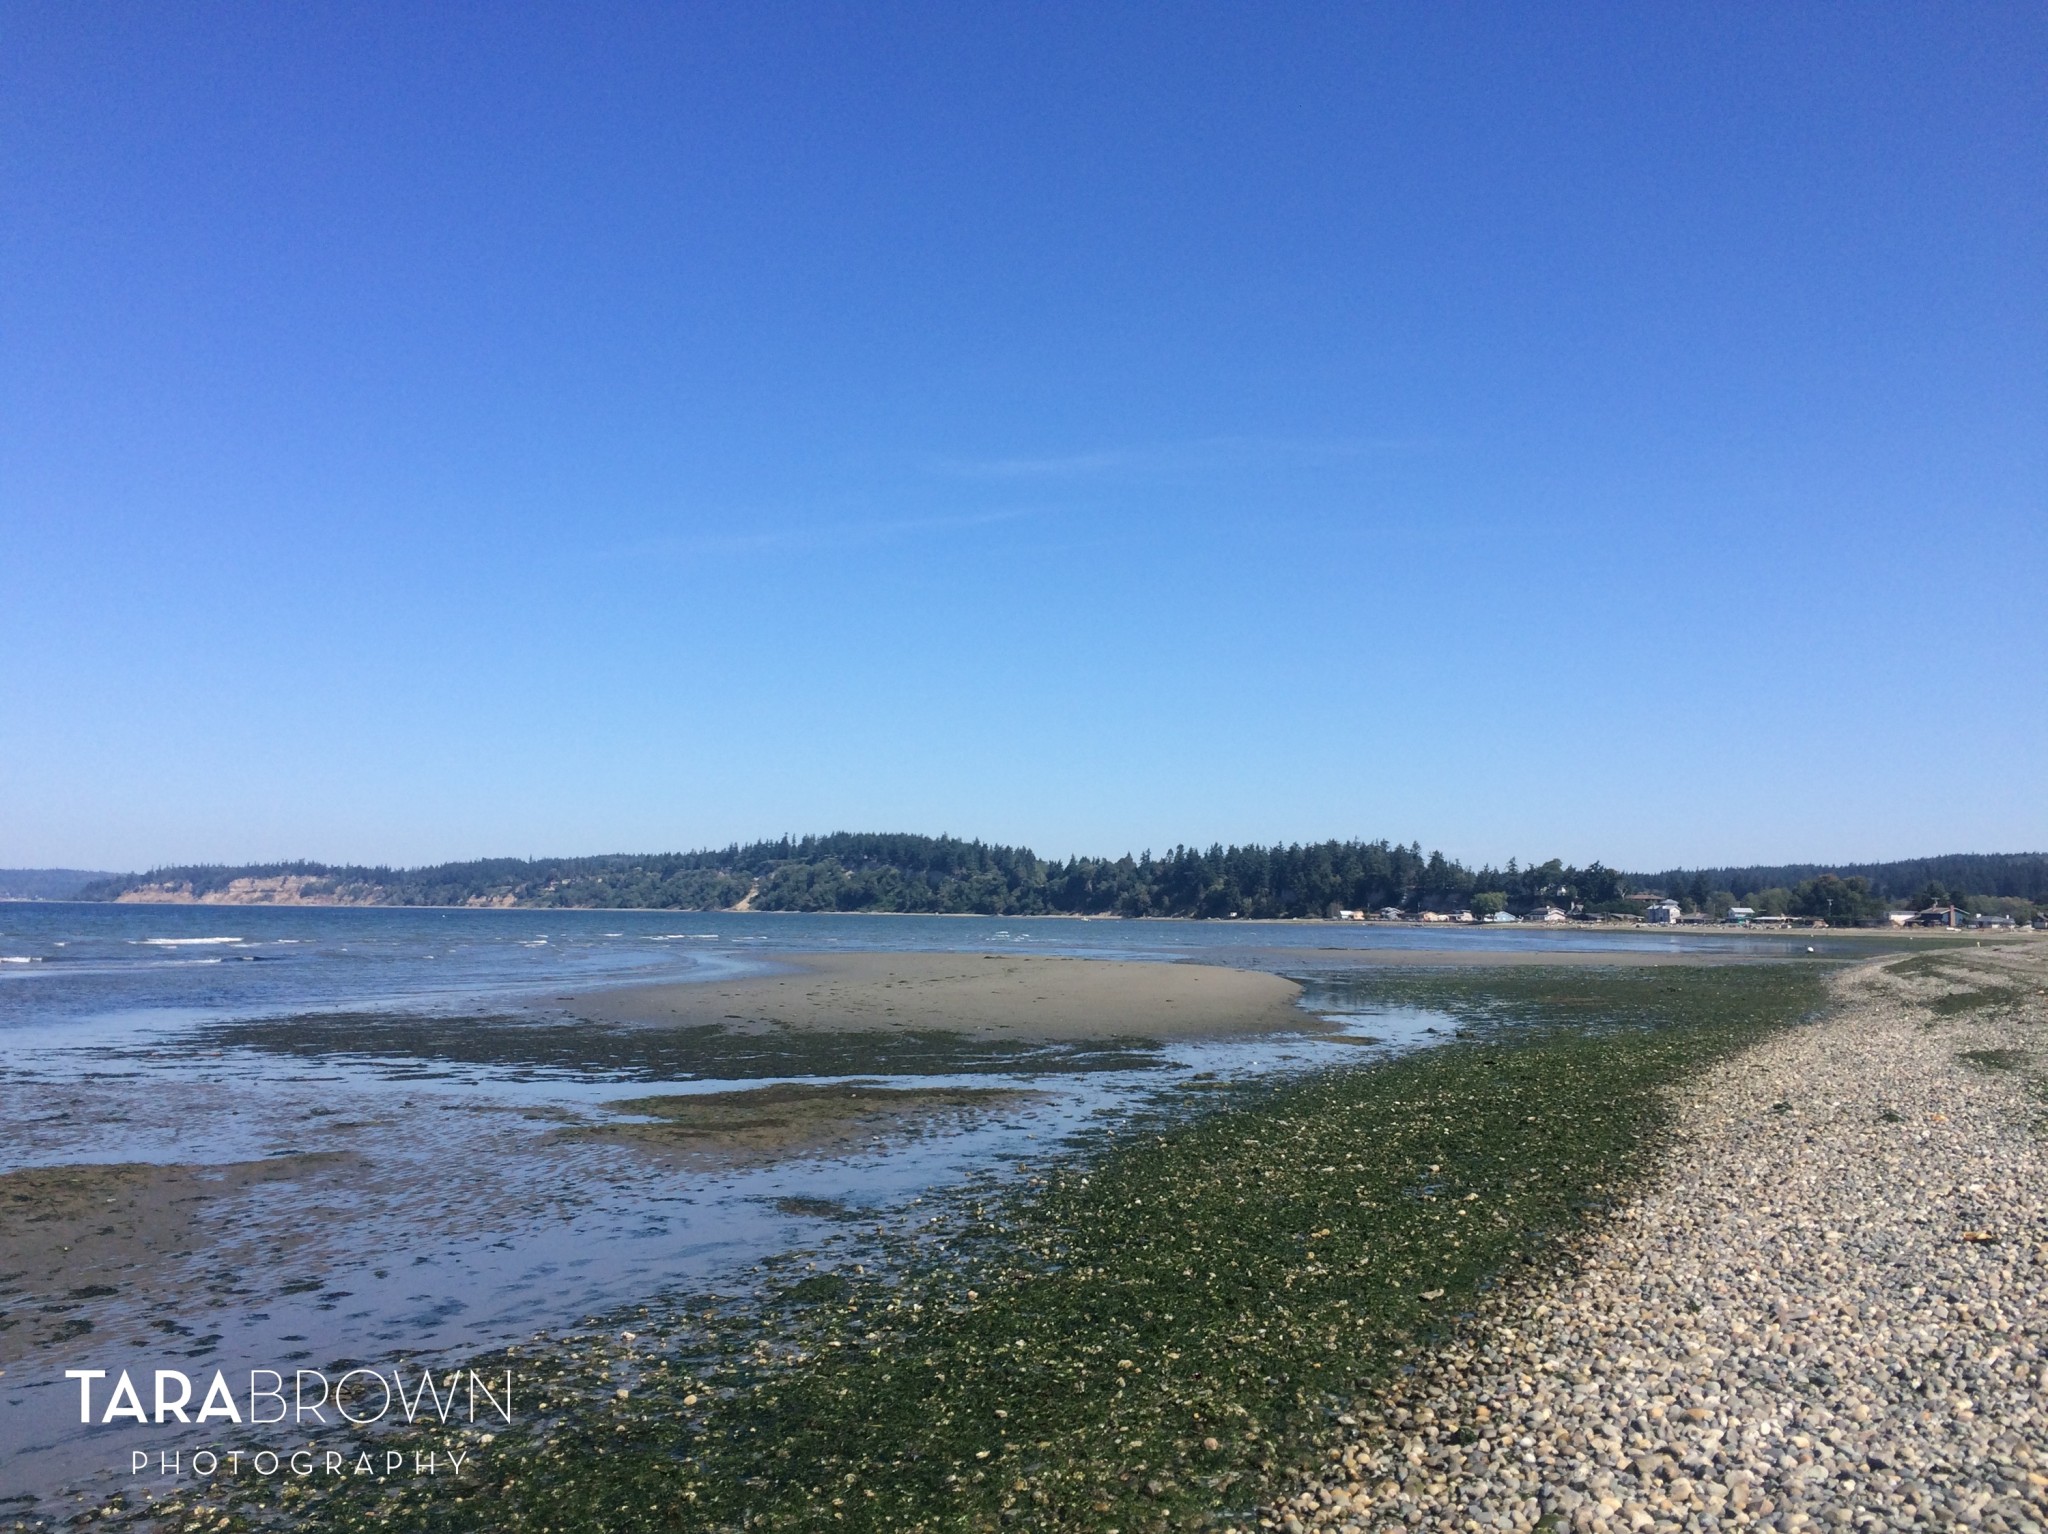
I thoroughly enjoyed this whole process, seeing how everything worked and getting to assist. As Kim said, it’s all about the experience. I could have gone and bought a cheese board for $250 at Urban Hardwoods, but instead, I wanted to learn and create both a gift and a story. I had so much fun, and at the end I decided that since I’d come all the way to Whidbey to get some wood, there was no way I was leaving with just one measly piece for a cheese board – so I chose seven of my favorite and left Kim a few for any other folks like me who contact him. 🙂 Then I stopped at the beach before catching the ferry home, because it was a beautiful day, so duh.
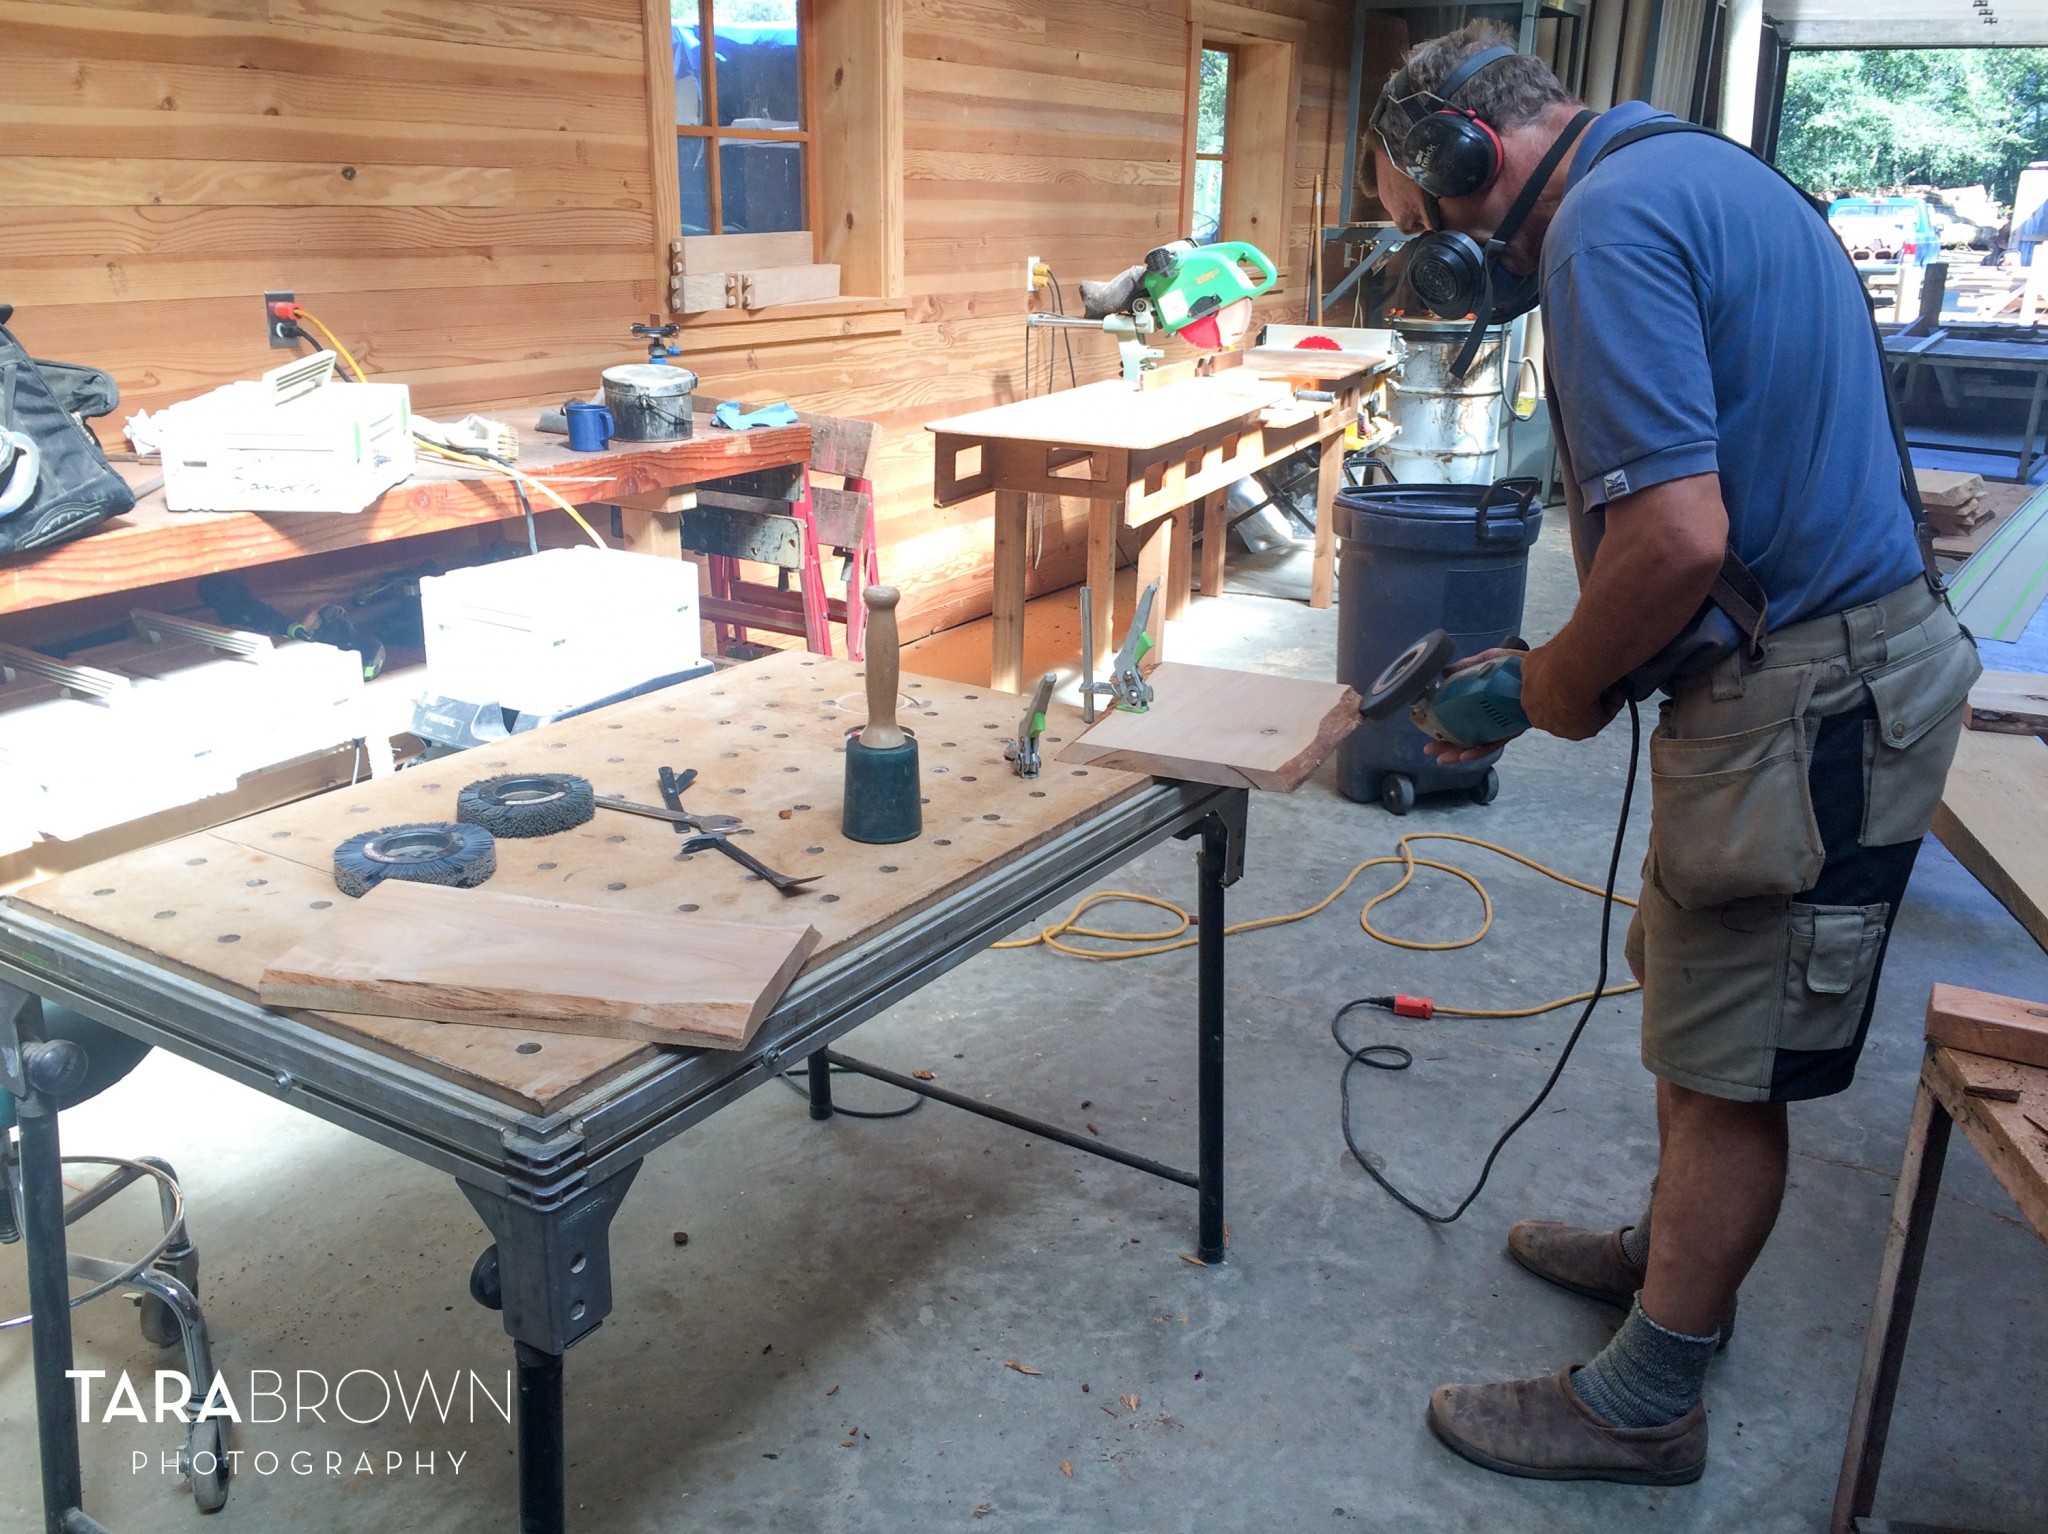
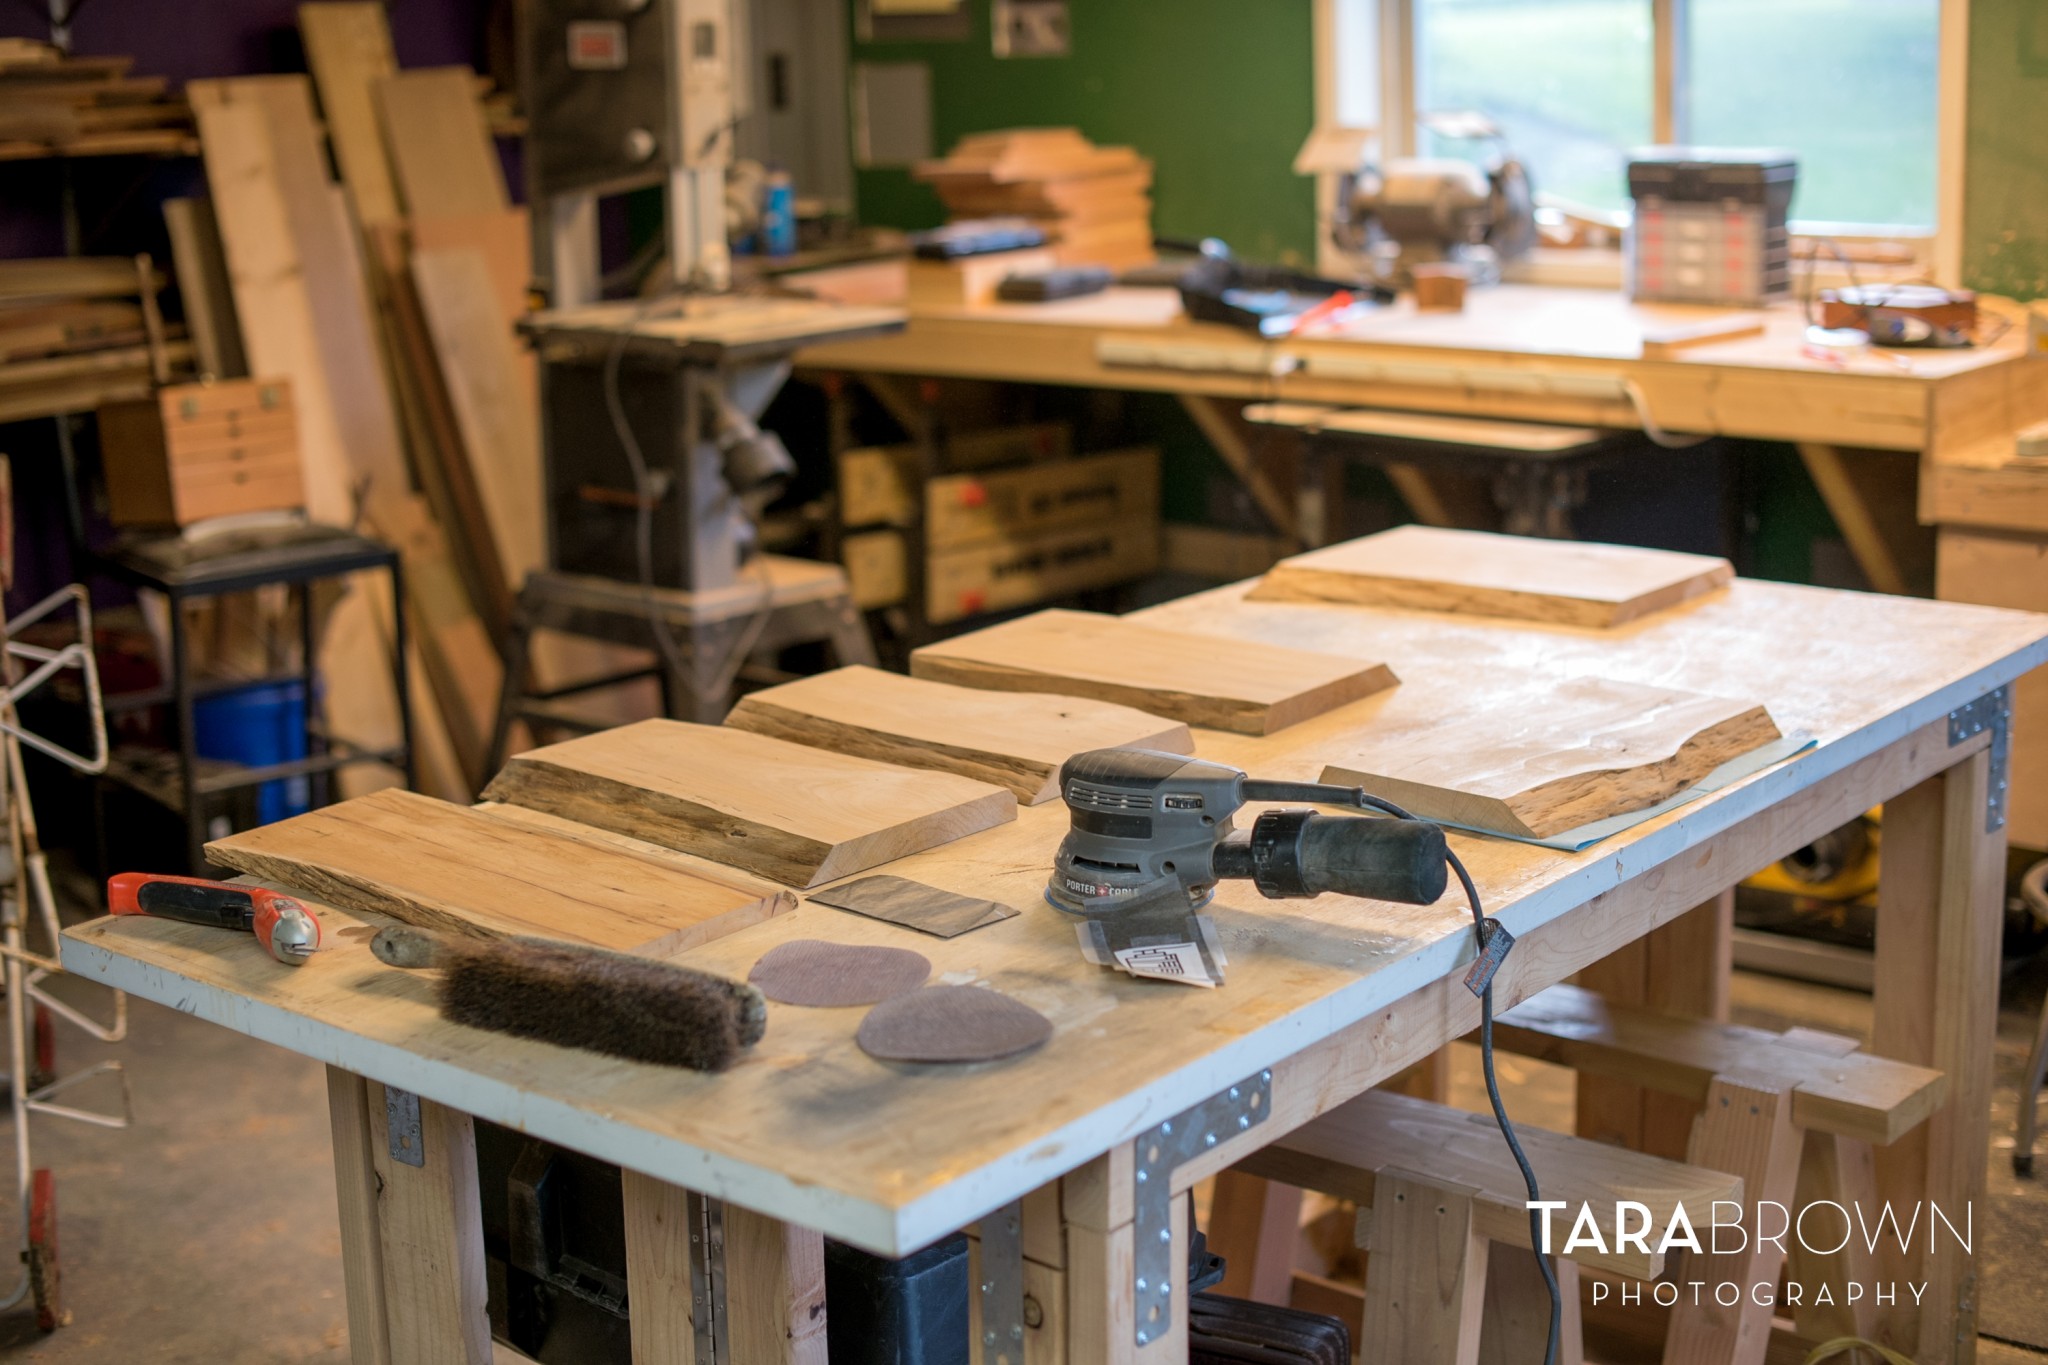
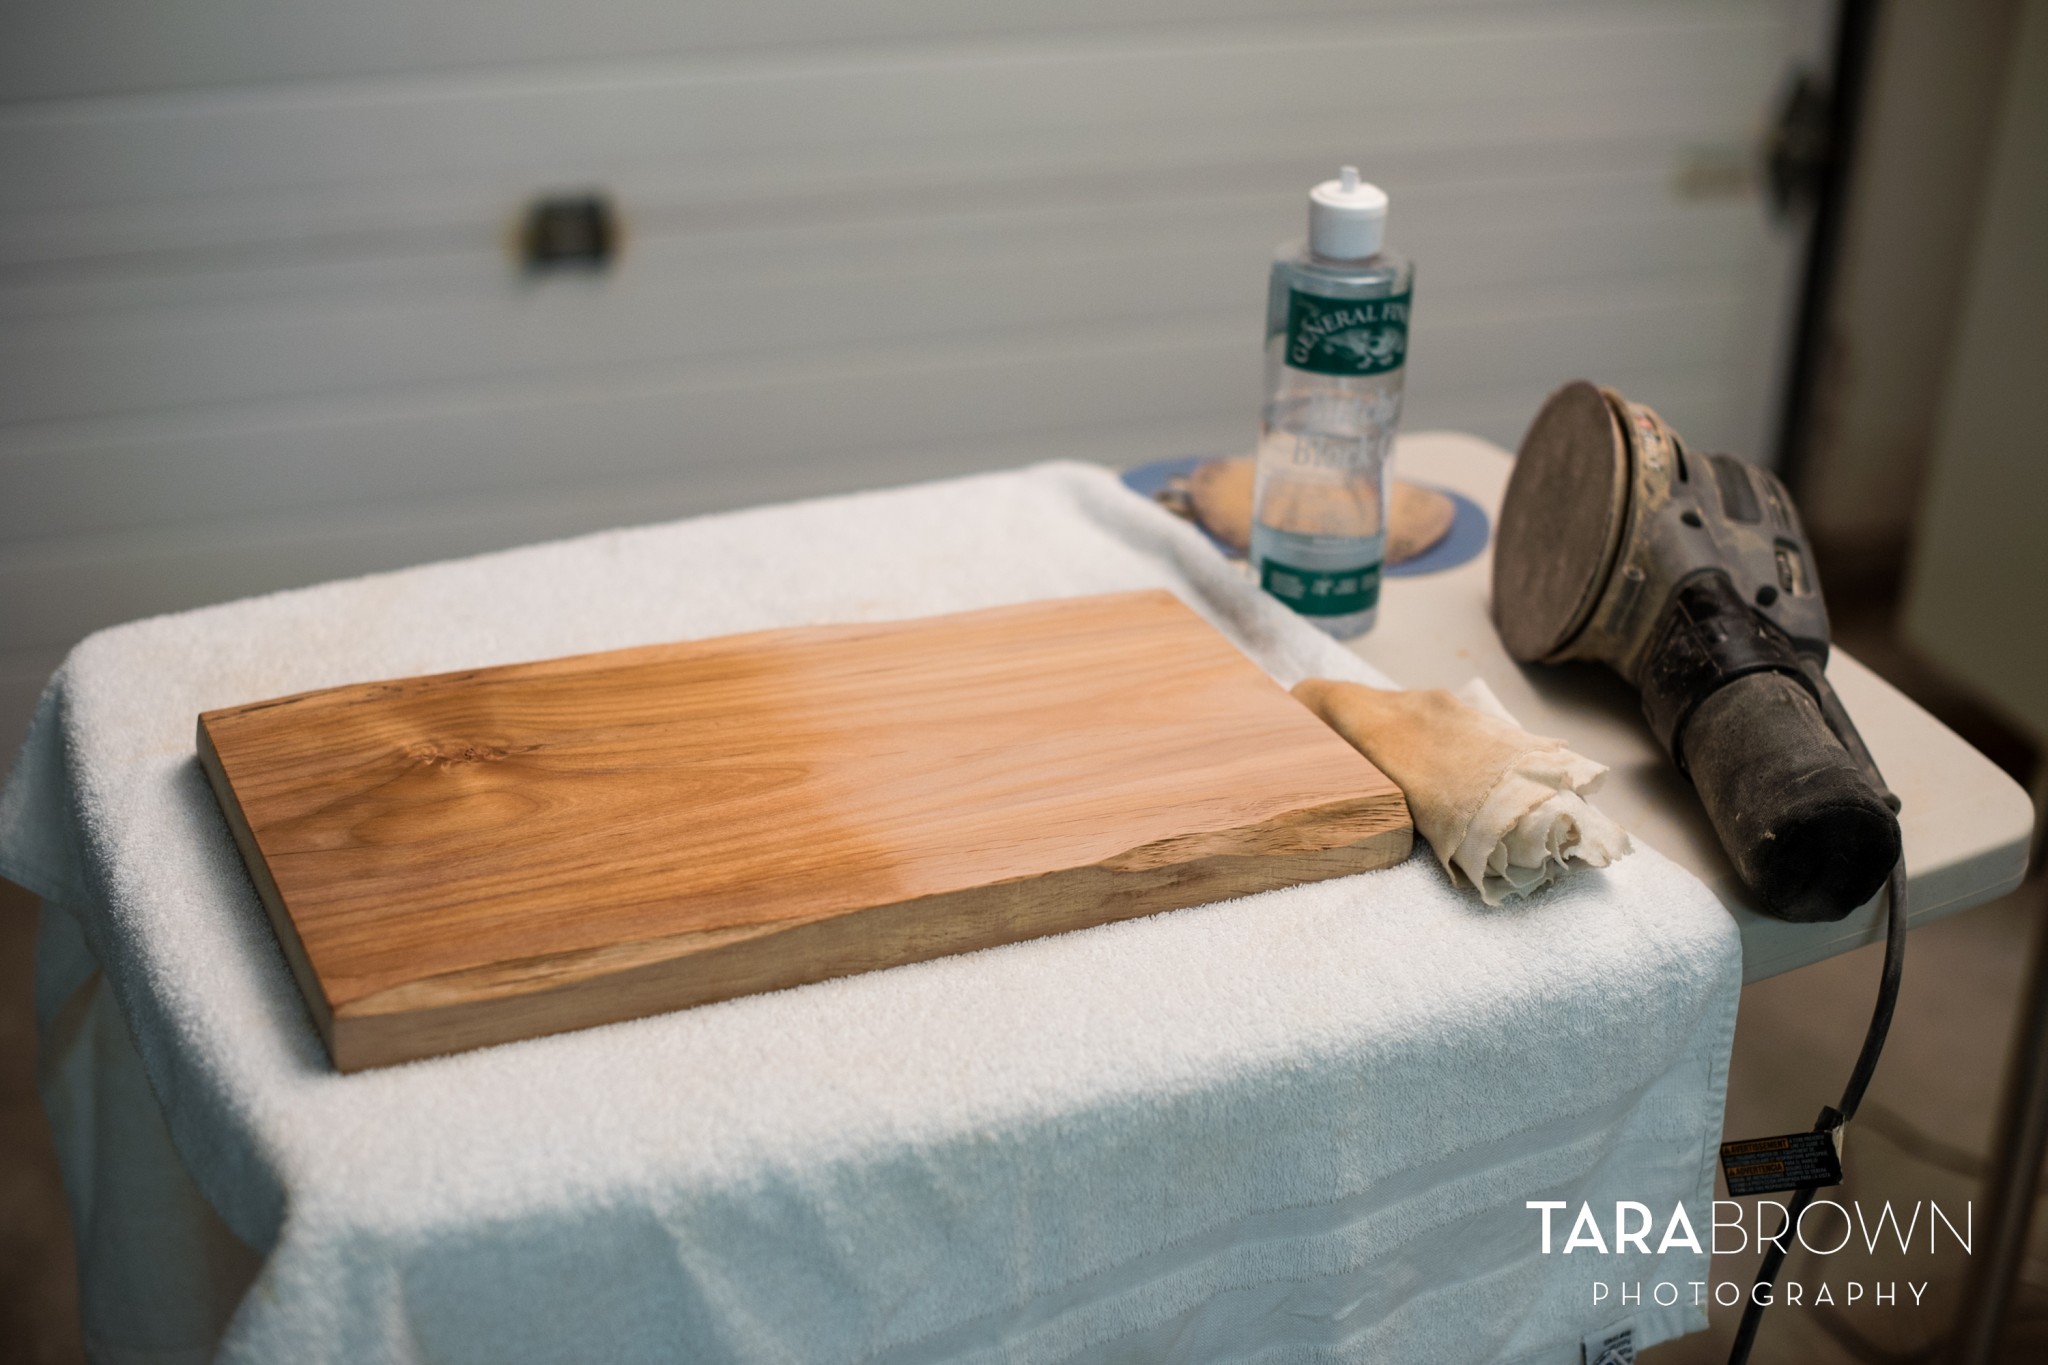
Back home, it was time to start the real work. My brother’s friend, Andrew, is a word worker and happens to live literally three houses away from me. I asked him if he would show me how to sand and treat the wood and burn a logo, and I was very excited when he agreed! I went over to his wood shop one afternoon and spent a few hours catching up, hearing about his work, and practicing on a few pieces. The logo burning was much more challenging than I thought it would be, but I was able to troubleshoot that later on with a different tip. *phew!* When both of us got hungry for dinner, Andrew helped me pack up all of the tools so I could finish my project at home.
First, I used Andrew’s random orbit sander with 100-grit sandpaper, which is pretty rough. Then jumped up to 150-, 220- and finally, 400-grit to get the wood super silky smooth! Andrew educated me on why you can’t just start with the higher grit sandpaper, because it won’t get out all the bigger grooves/scratches/roughness/whatevs (those aren’t his exact words, but you get the idea). The transformation was really neat to feel (I love before and afters), and the process of sanding was surprisingly quite therapeutic. 🙂 I kind of want to ask my parents for a random orbit sander for Christmas.
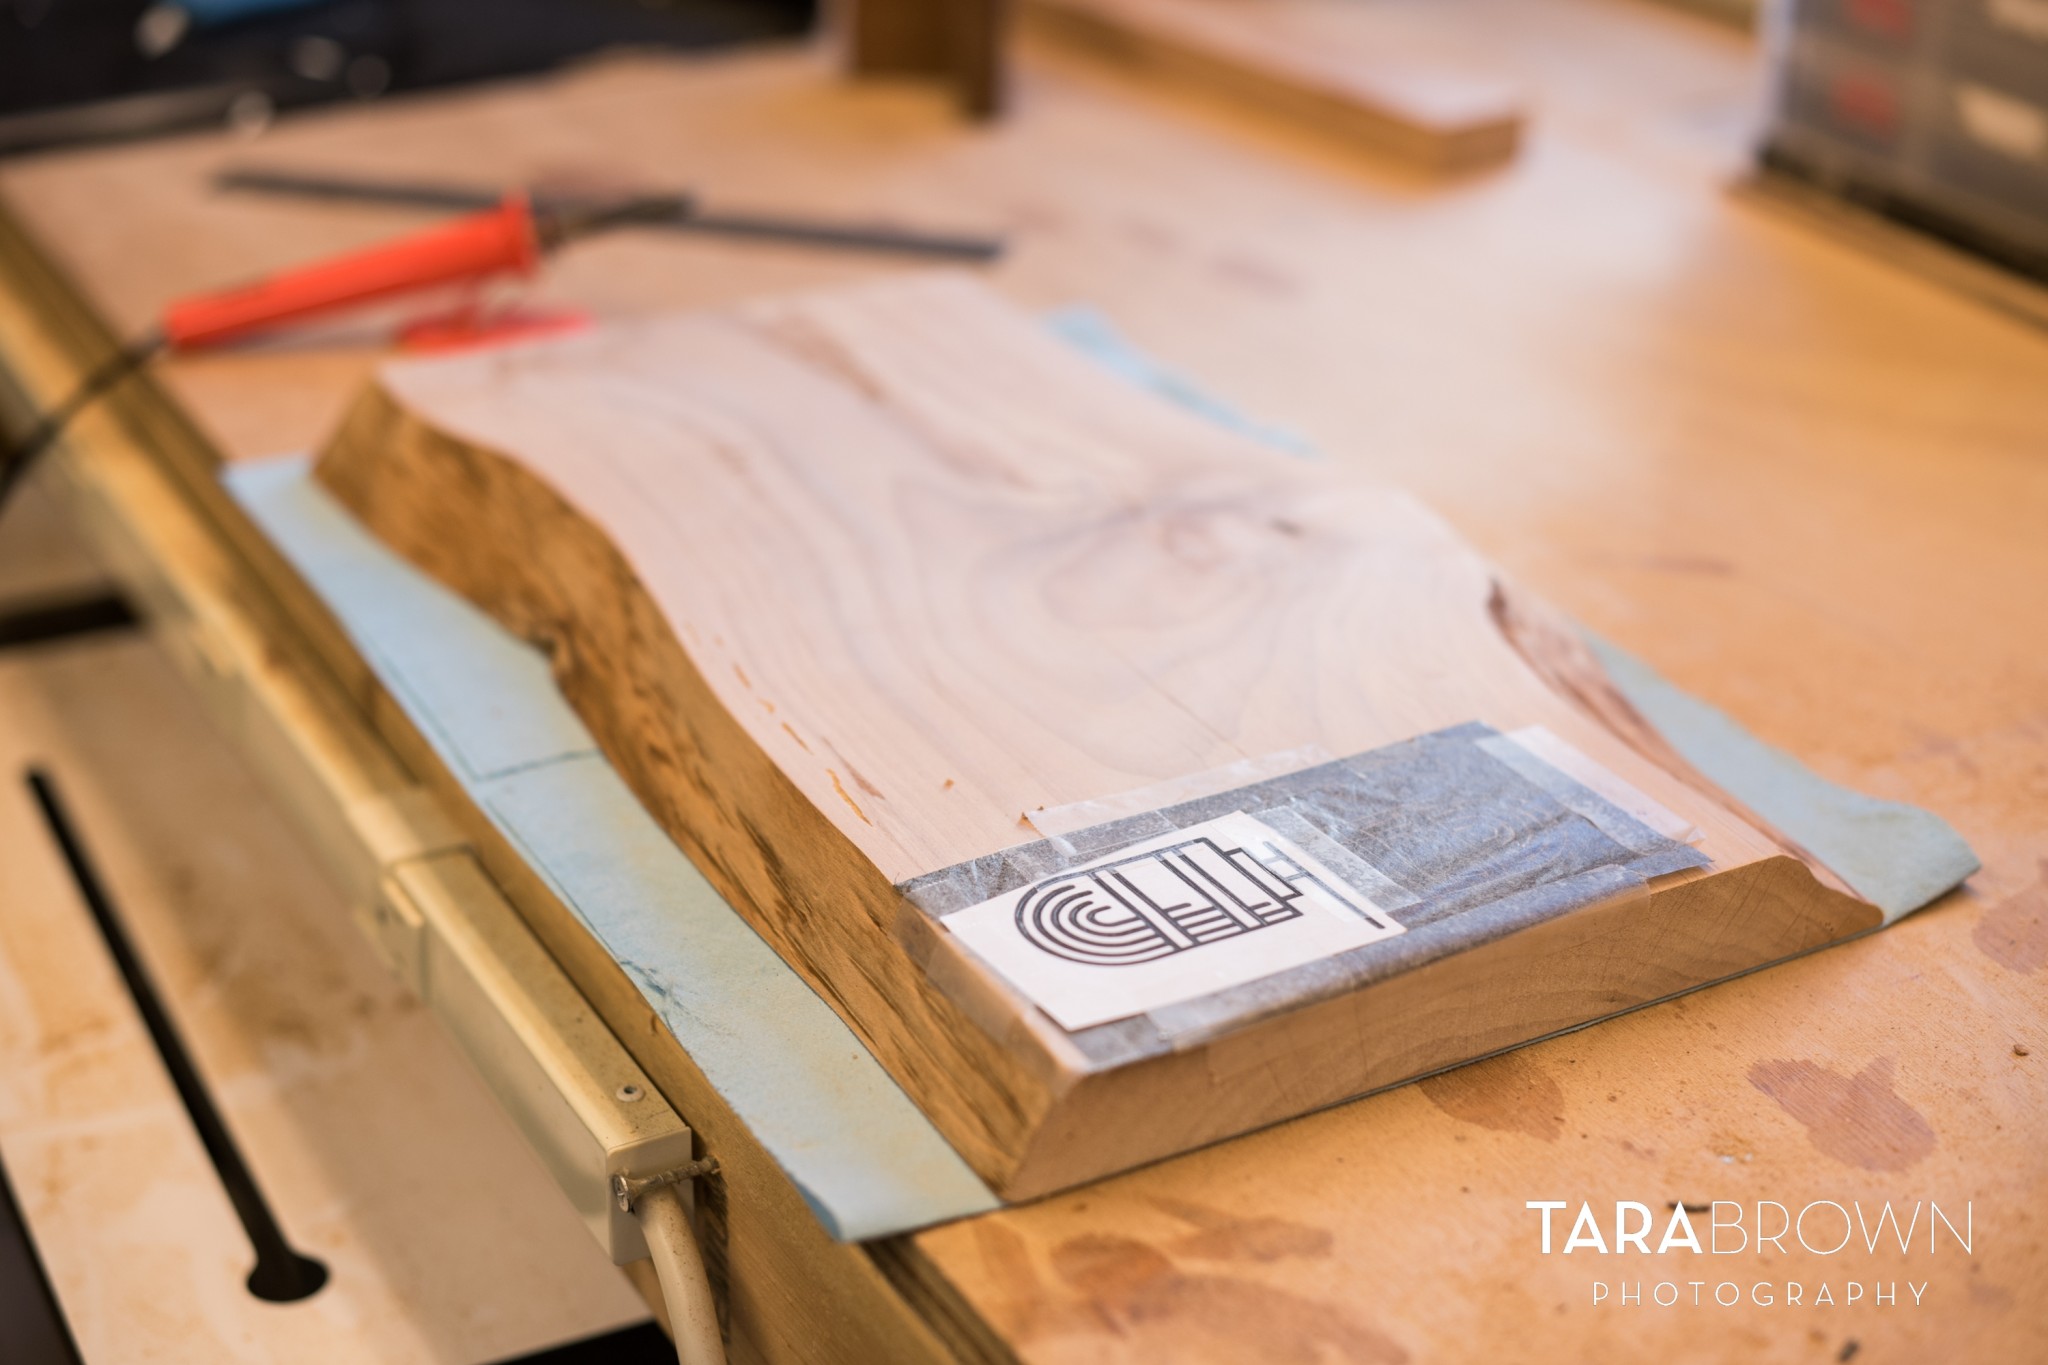
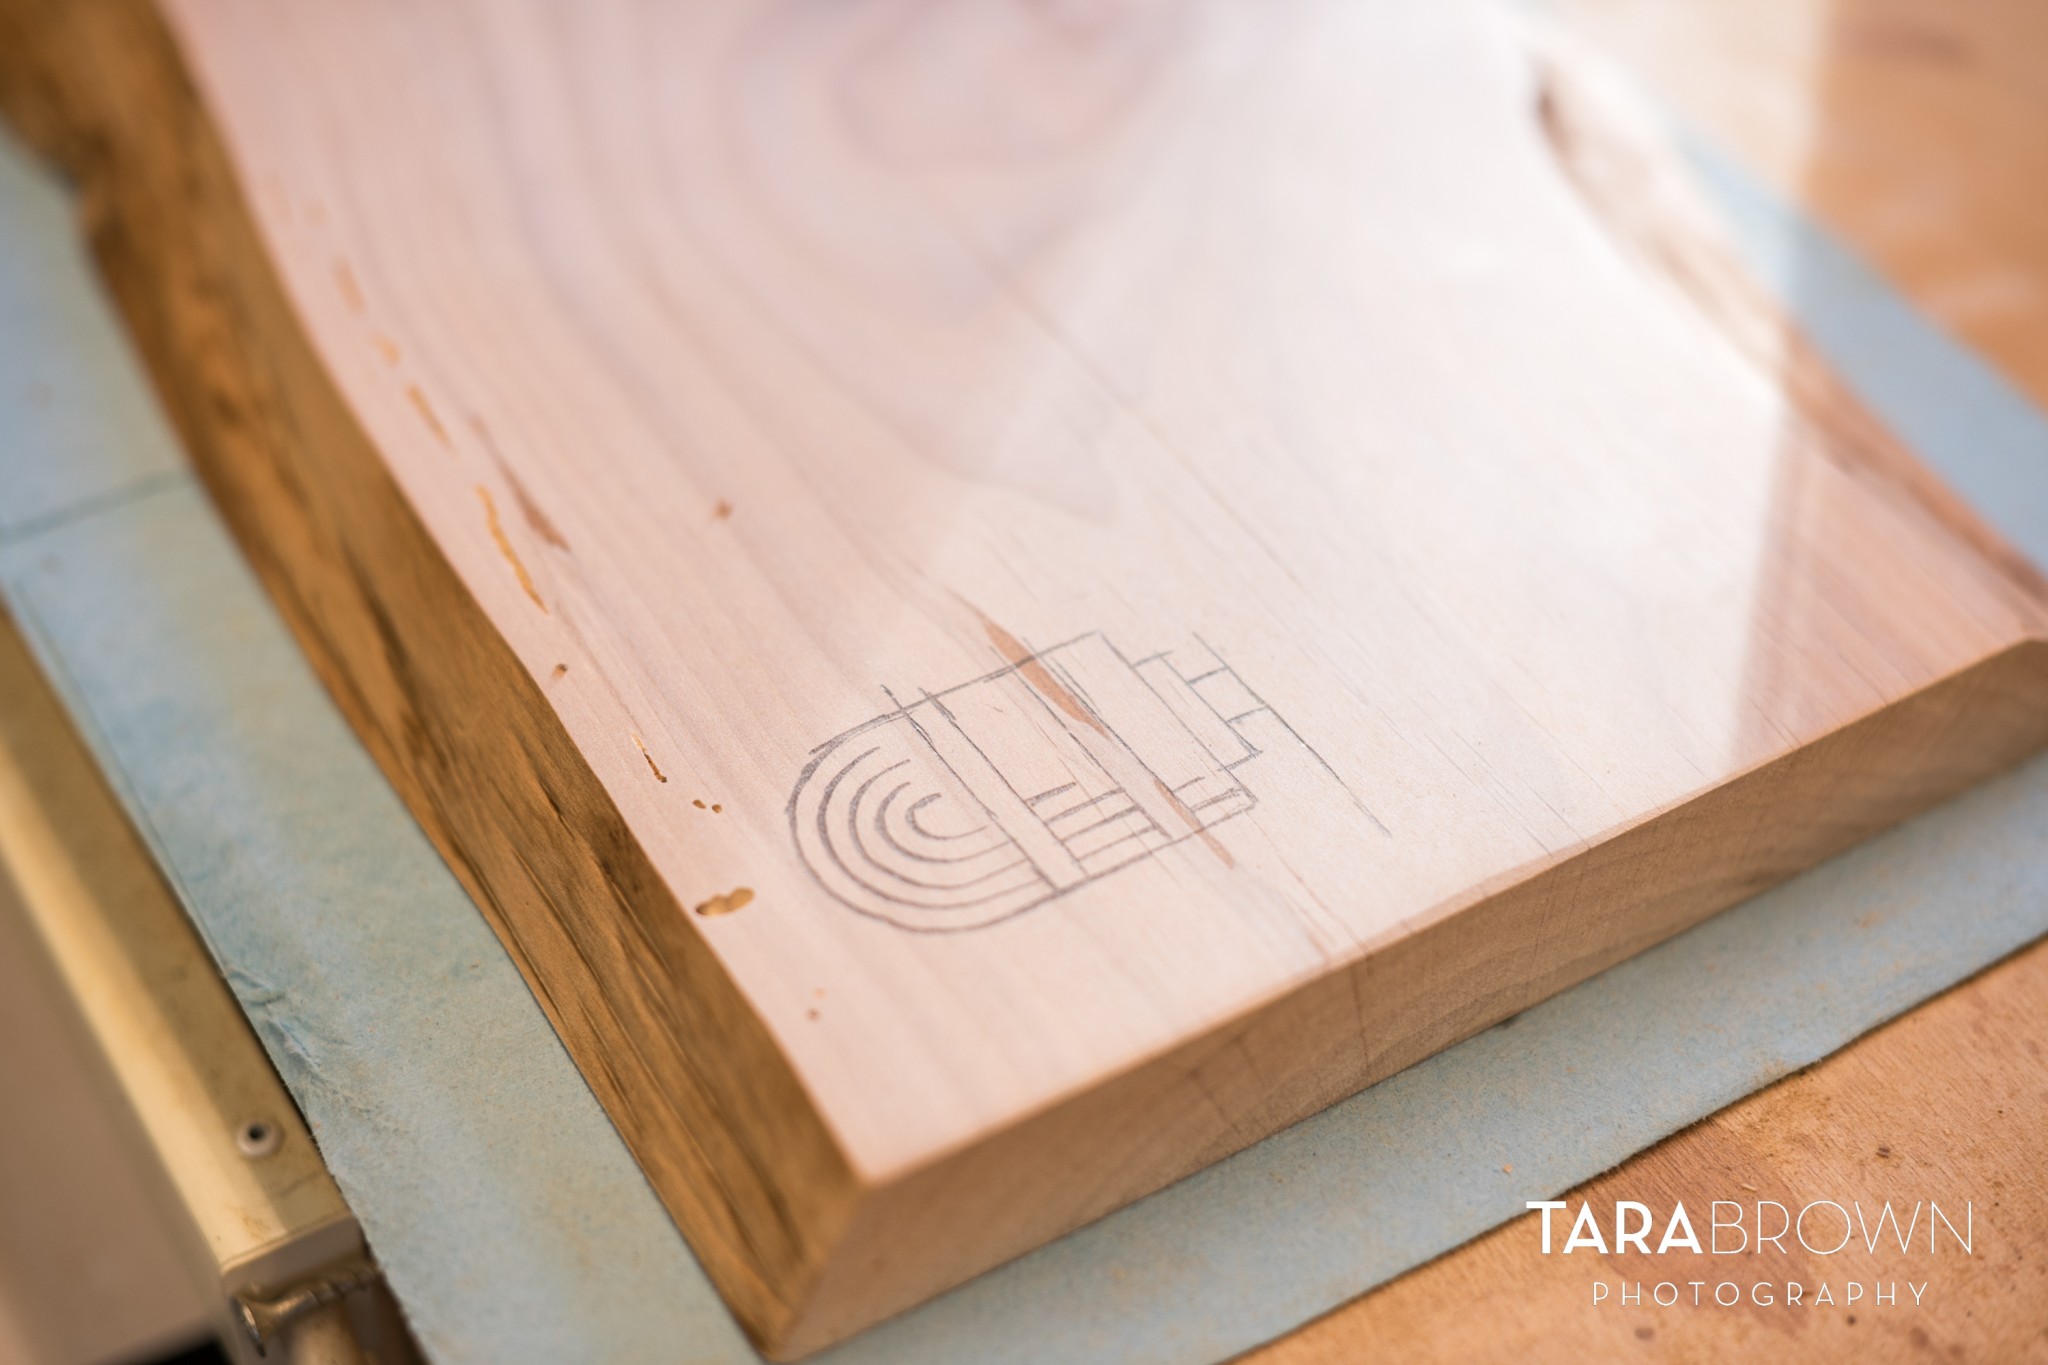
Once sanded, I used transfer paper to trace the Mash Record Wines logo onto the wood, and use the wood burner to – you guessed it – burn it in there! As I mentioned, the first tip that I used was not quite right for the job, so a few days later I ended up sanding out the entire logo and trying again. I was much happier with that result!
The *womp*womp* logos…better logo at the end of this post! 😉 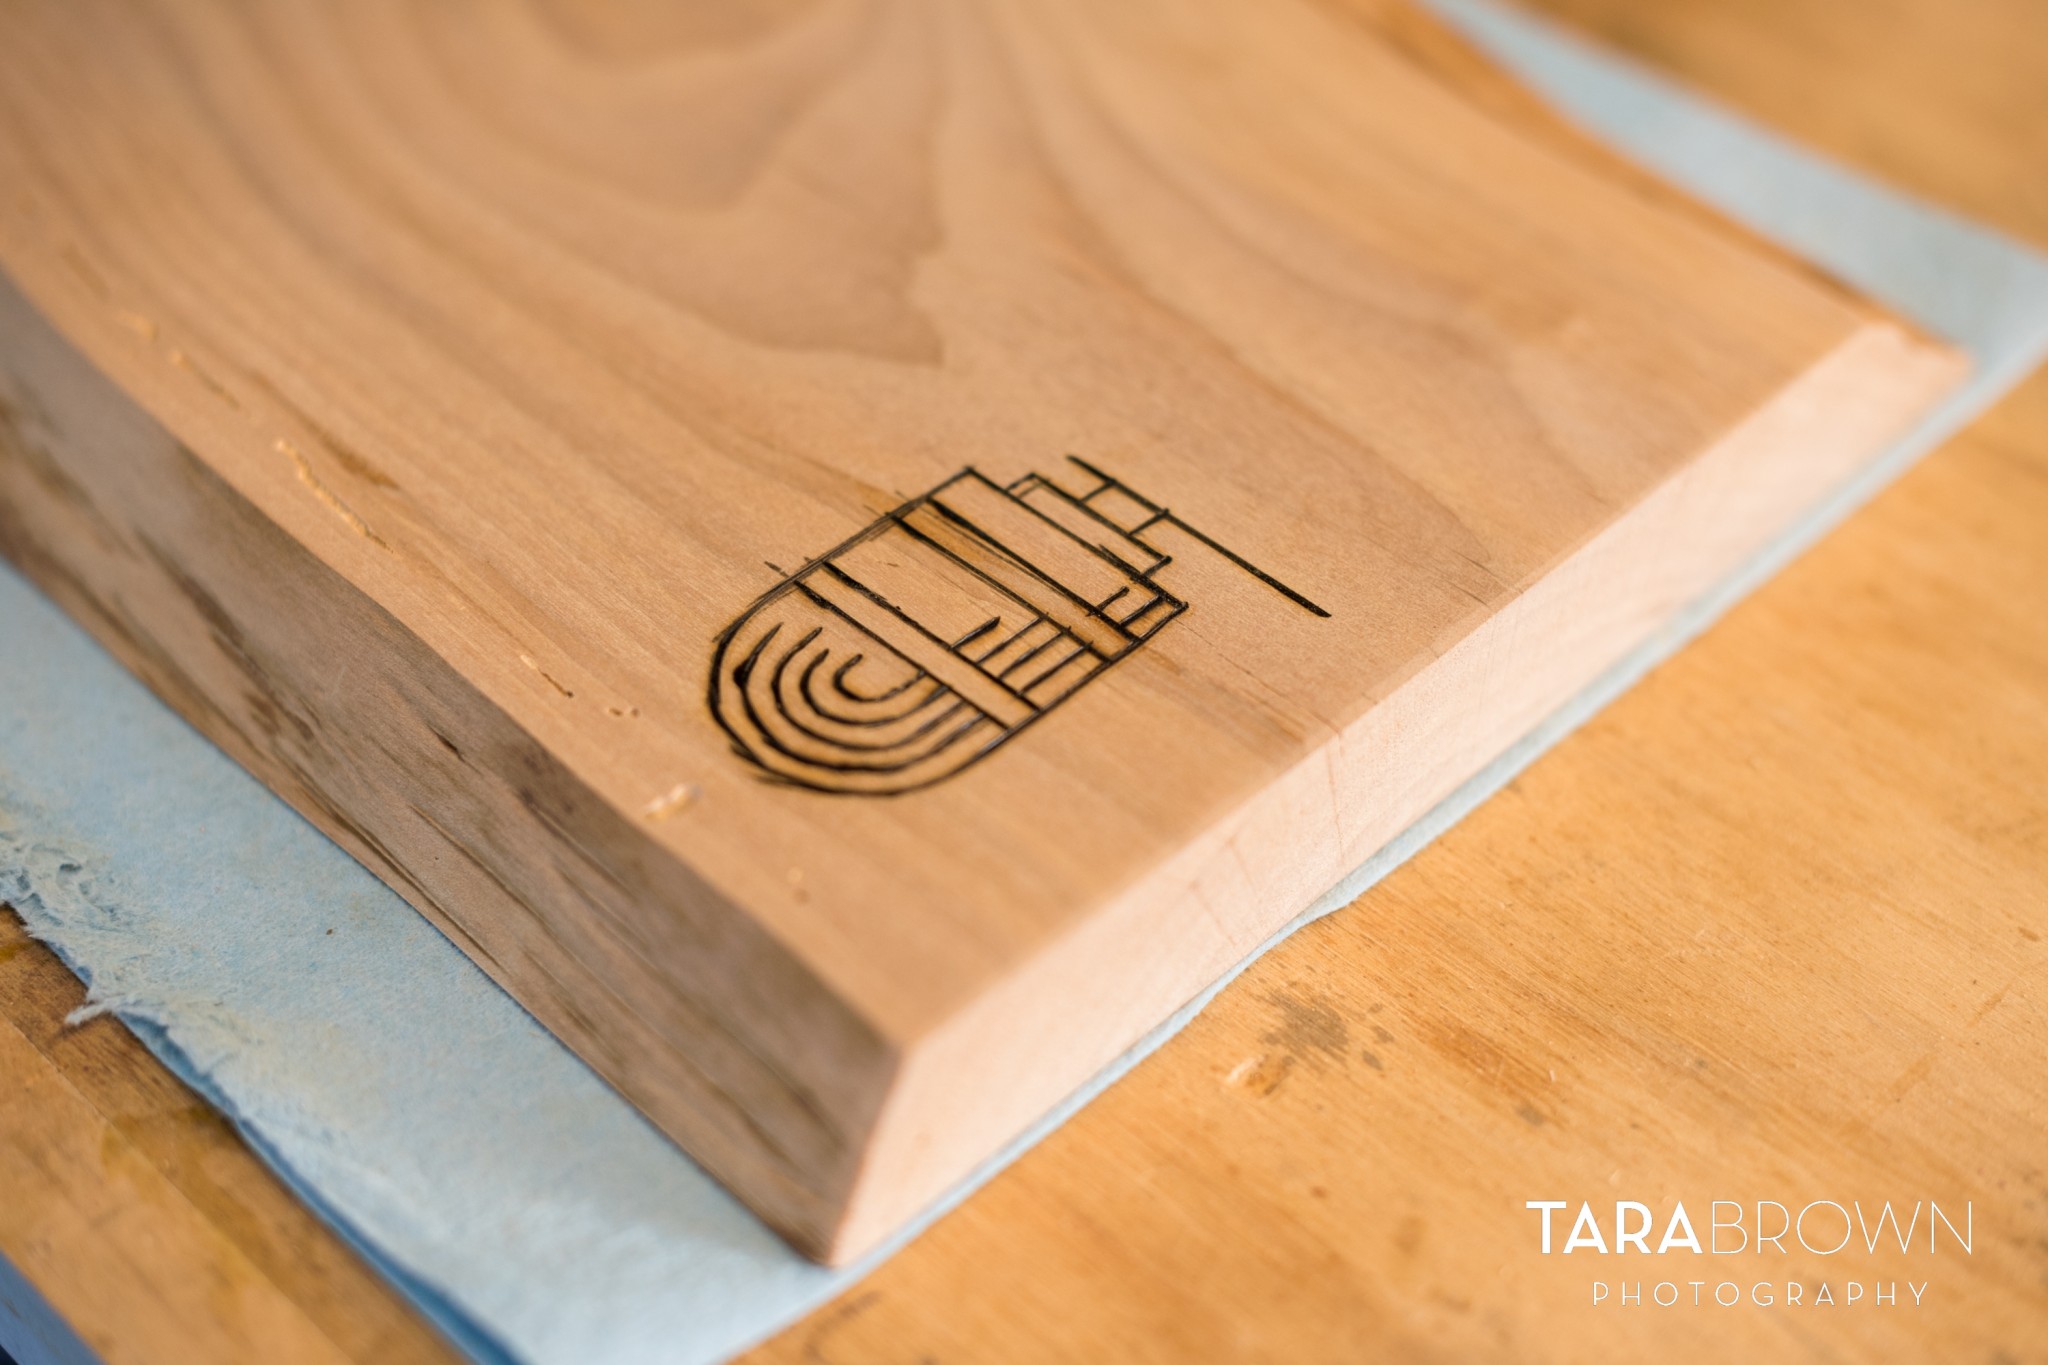

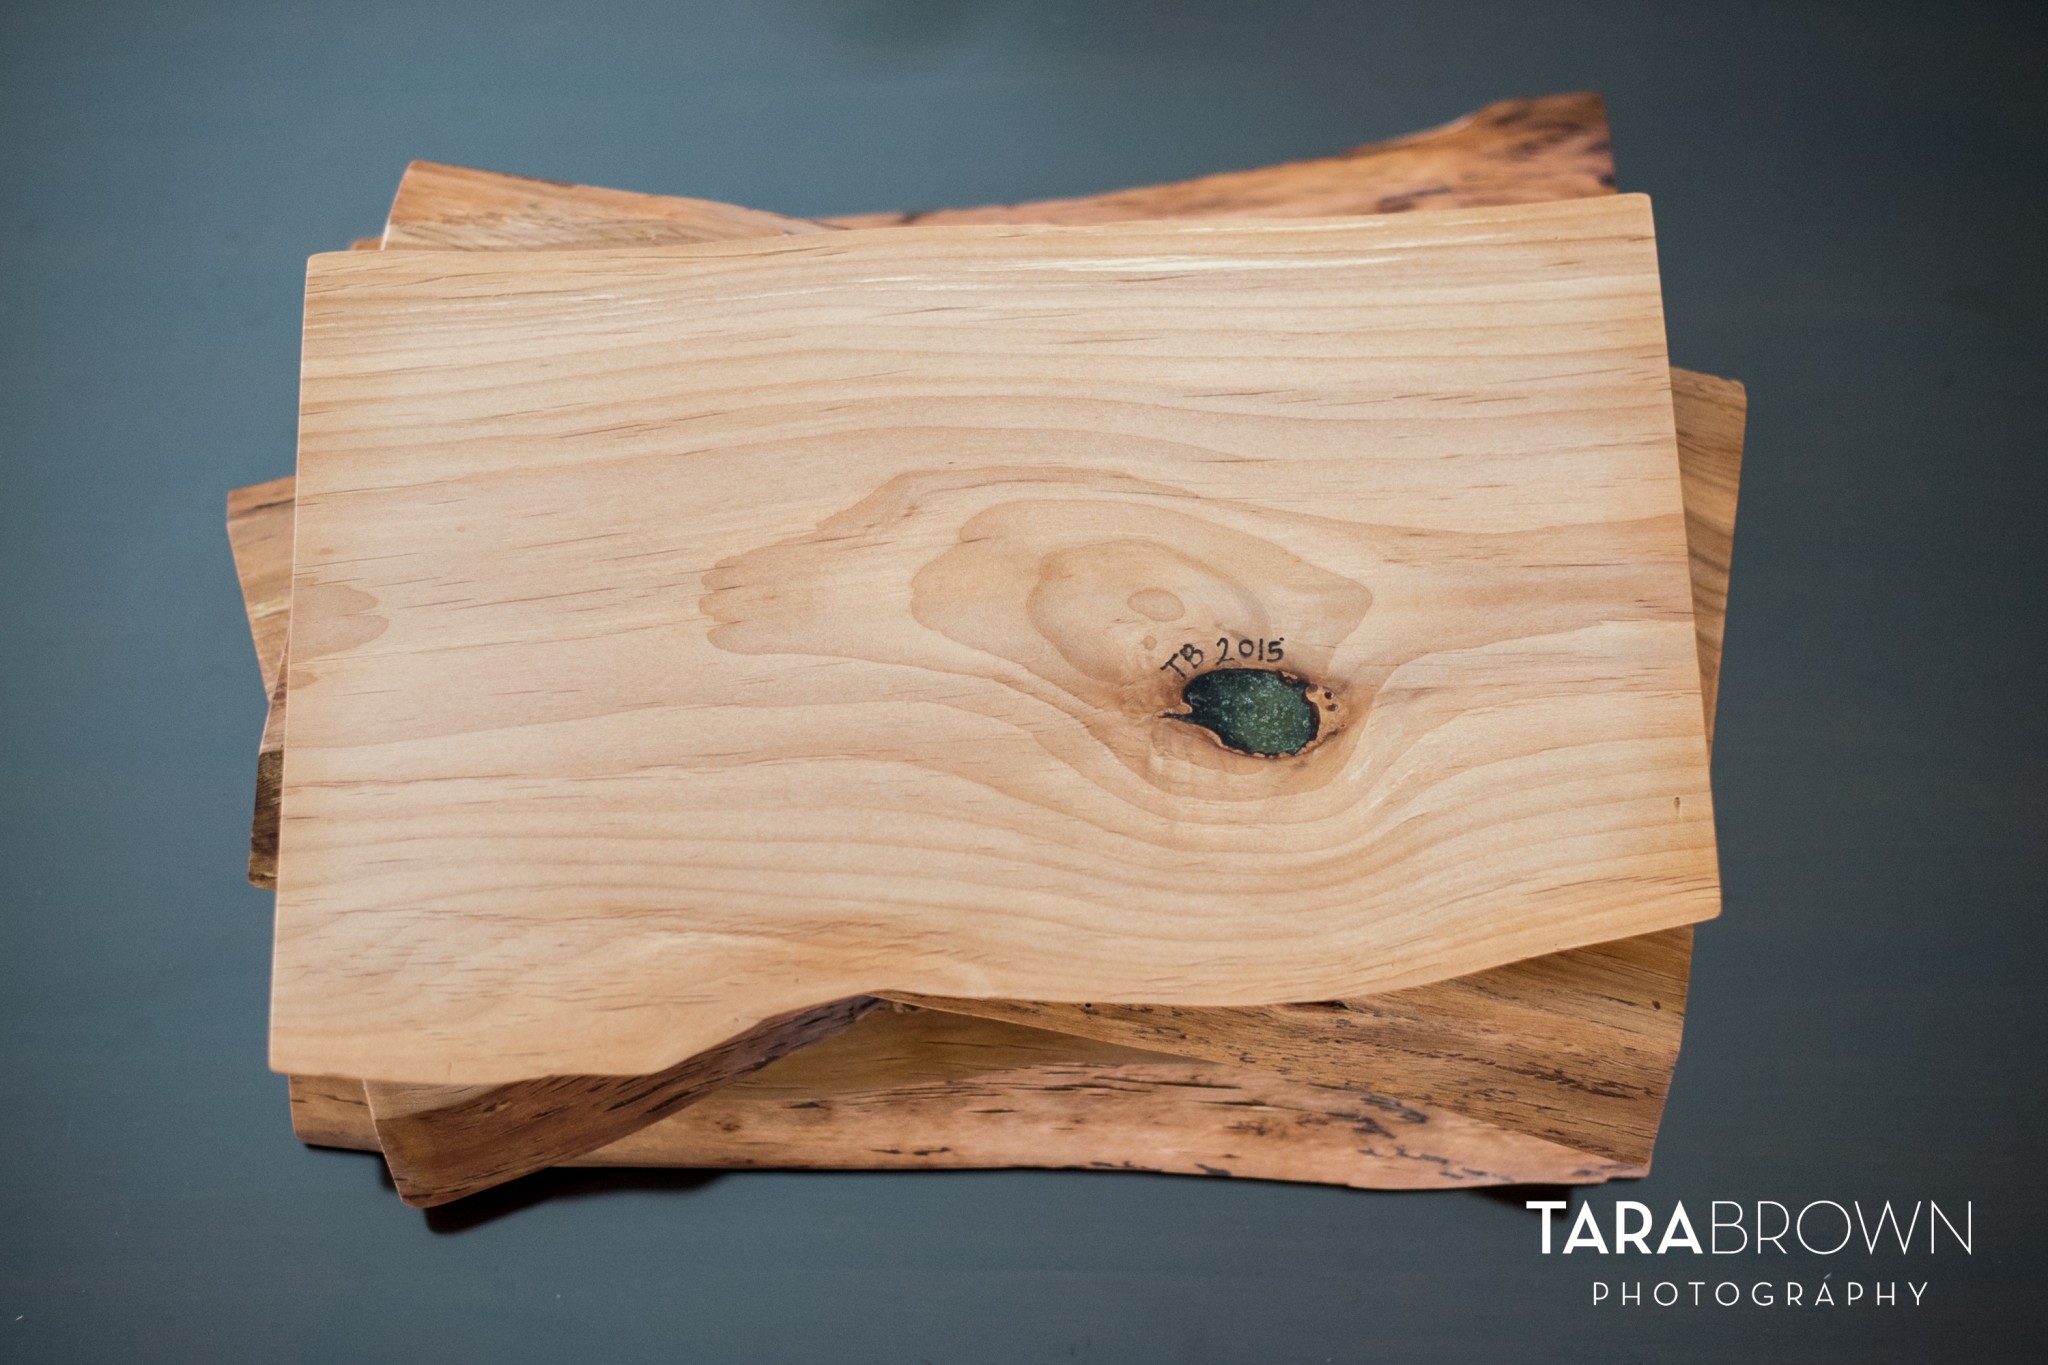
Once the logo was complete and gently sanded over to get any bumps, I then had to check the wood for any cracks or knots where I thought food might get stuck. I filled these with a clear epoxy and let that cure for about an hour before sanding around that. Finally, the cheese board was ready to be rubbed with butcher block oil. This was one of my favorite parts because the wood’s color transformed and the grain totally popped. Basically, it was beautiful. And I made it. And I was proud and in love. 😀
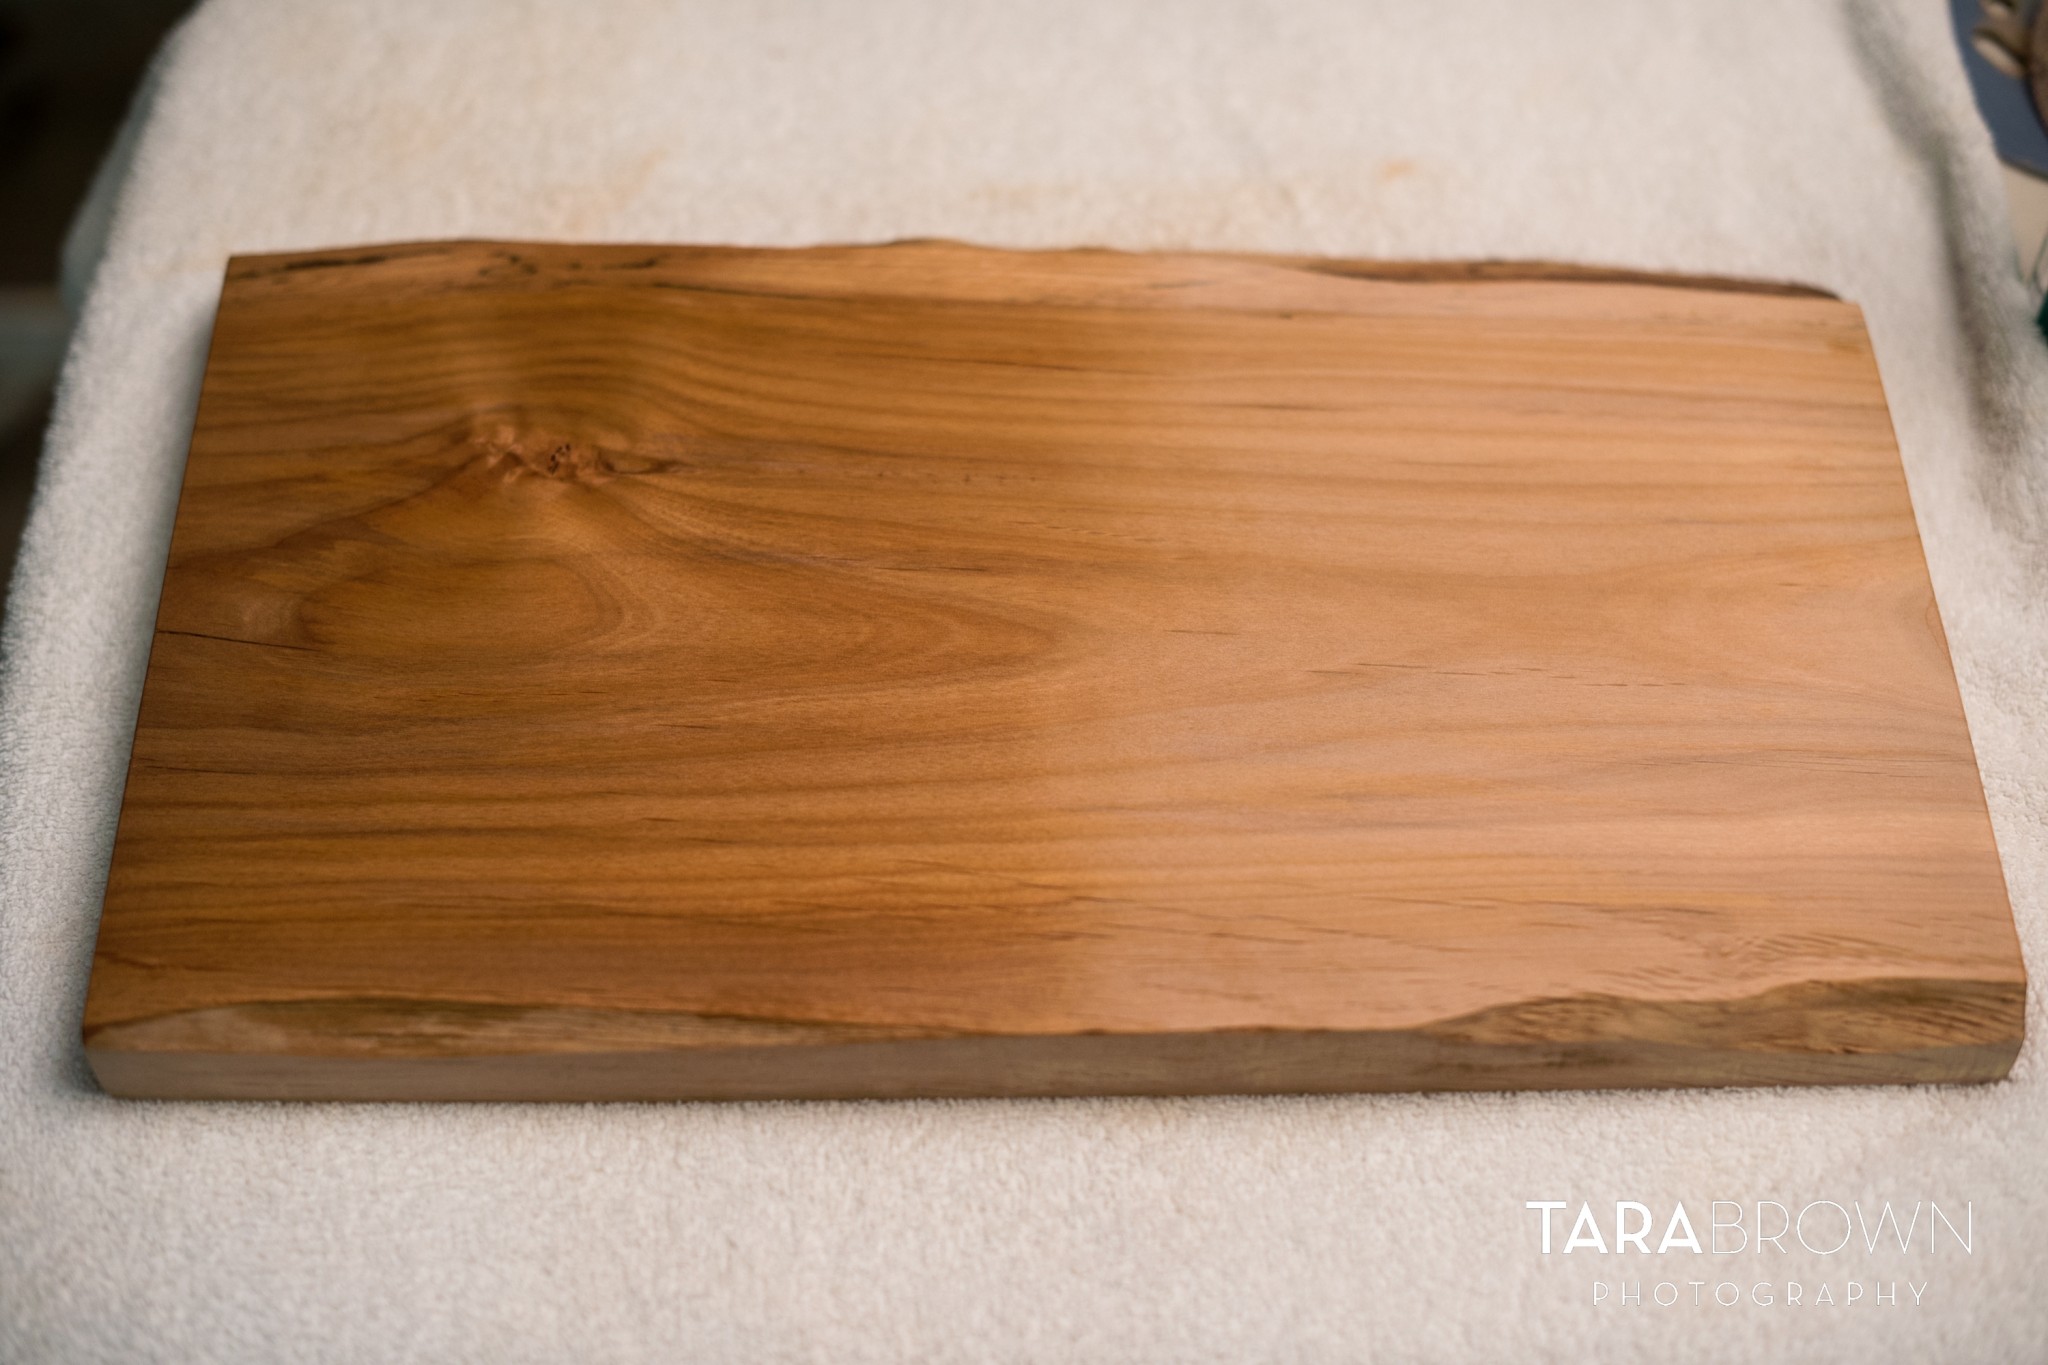
Here are photos from my cheese boards’ glamour sesh. 😉
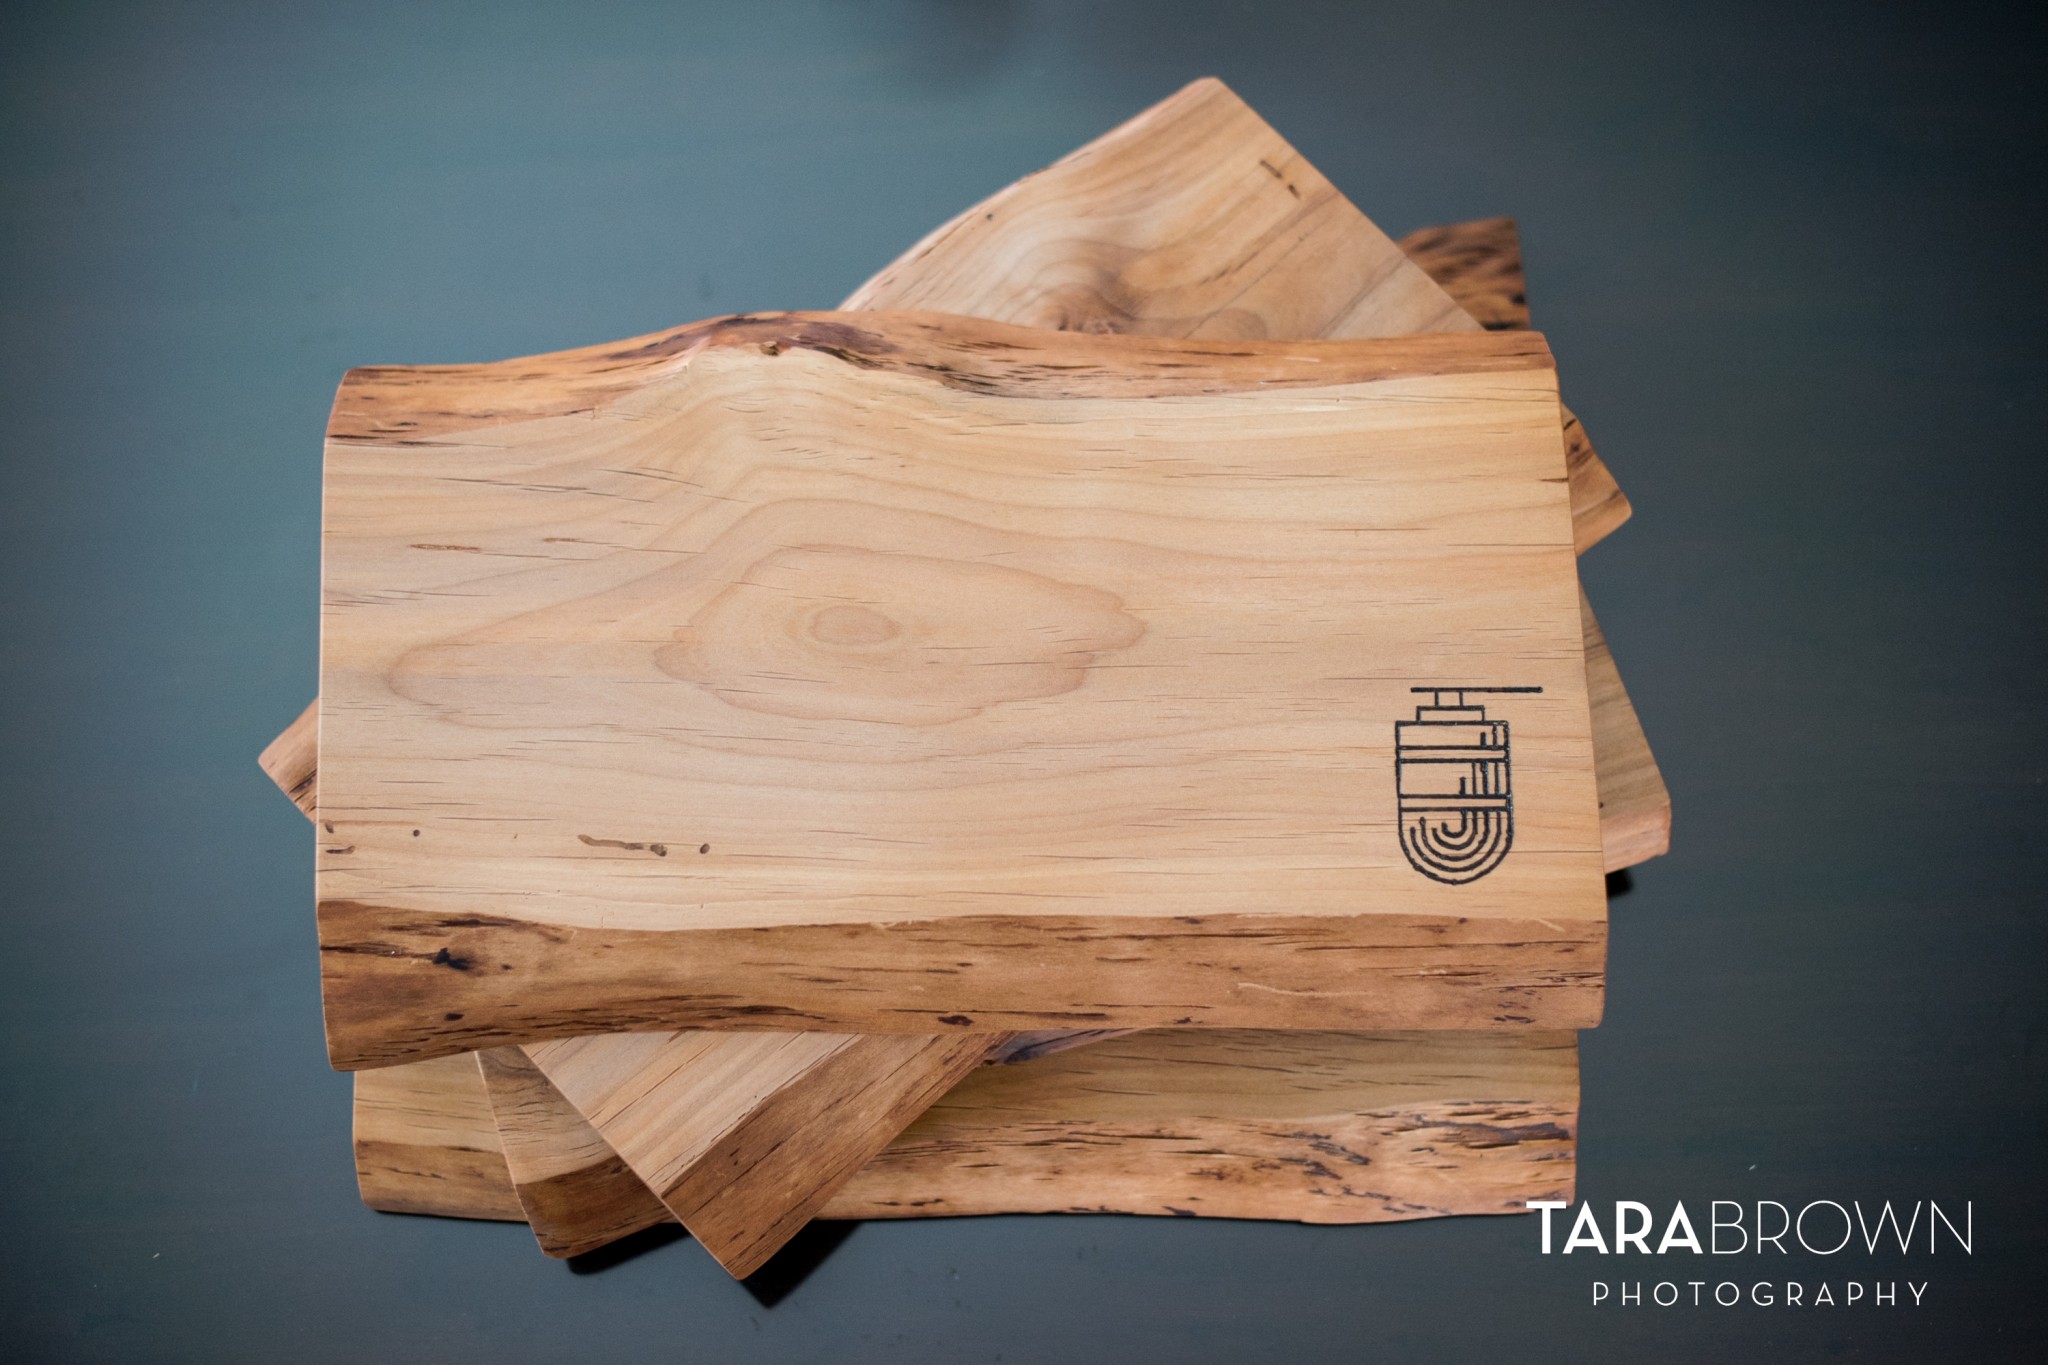
(See…totes better.)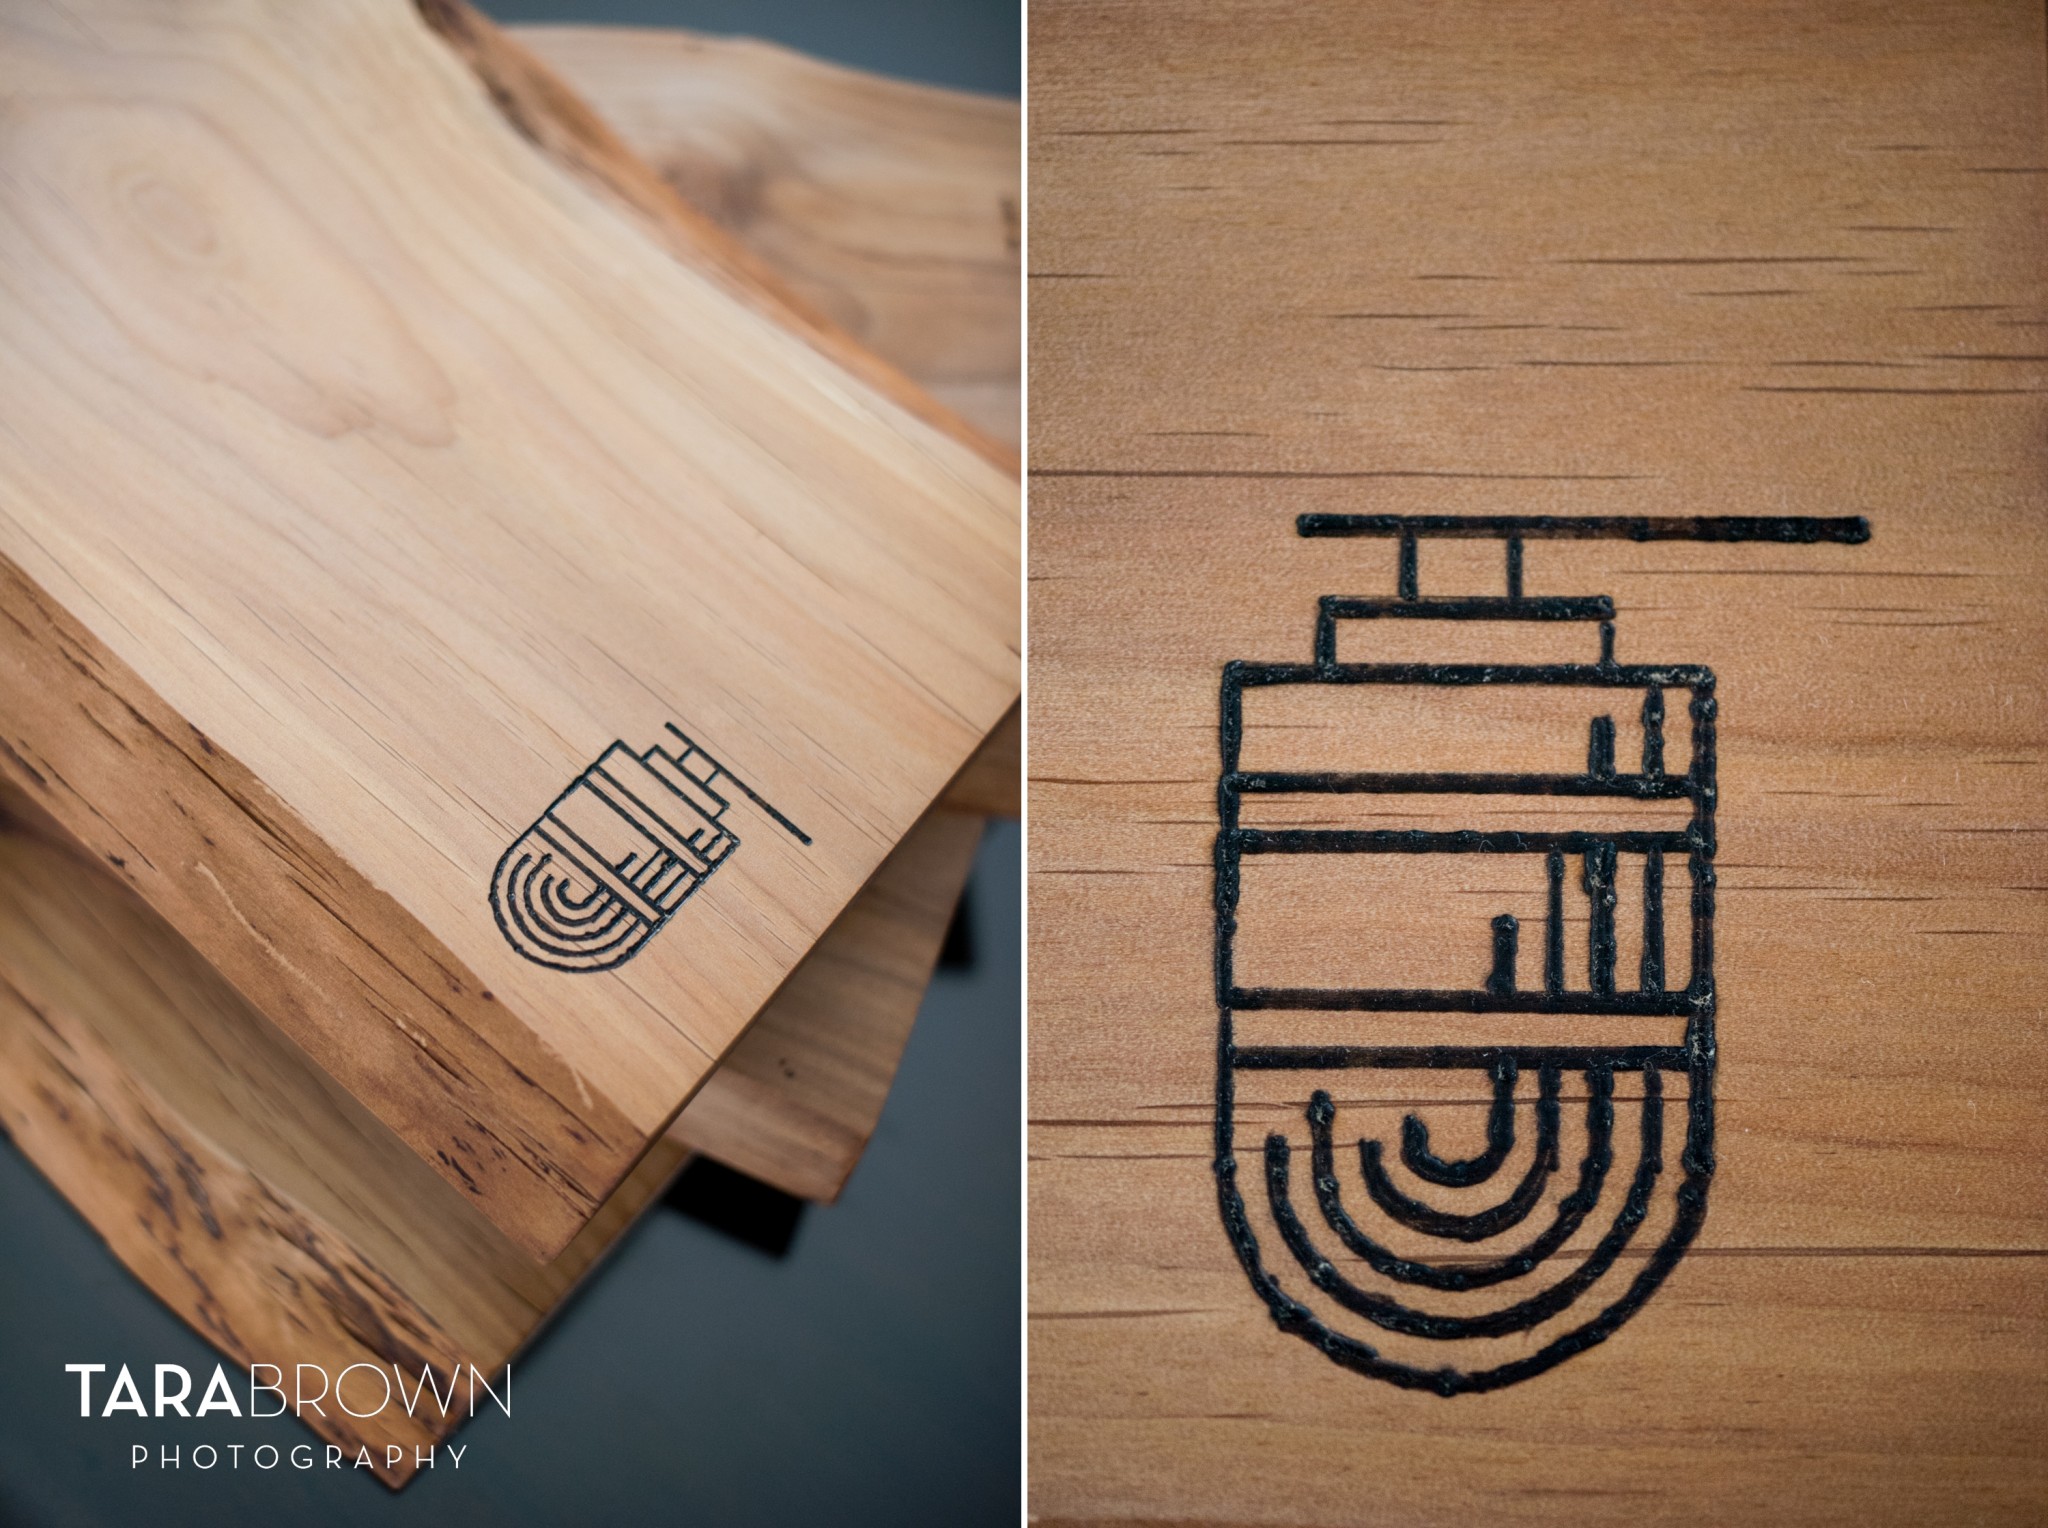

That beautiful piece of Pacific yew.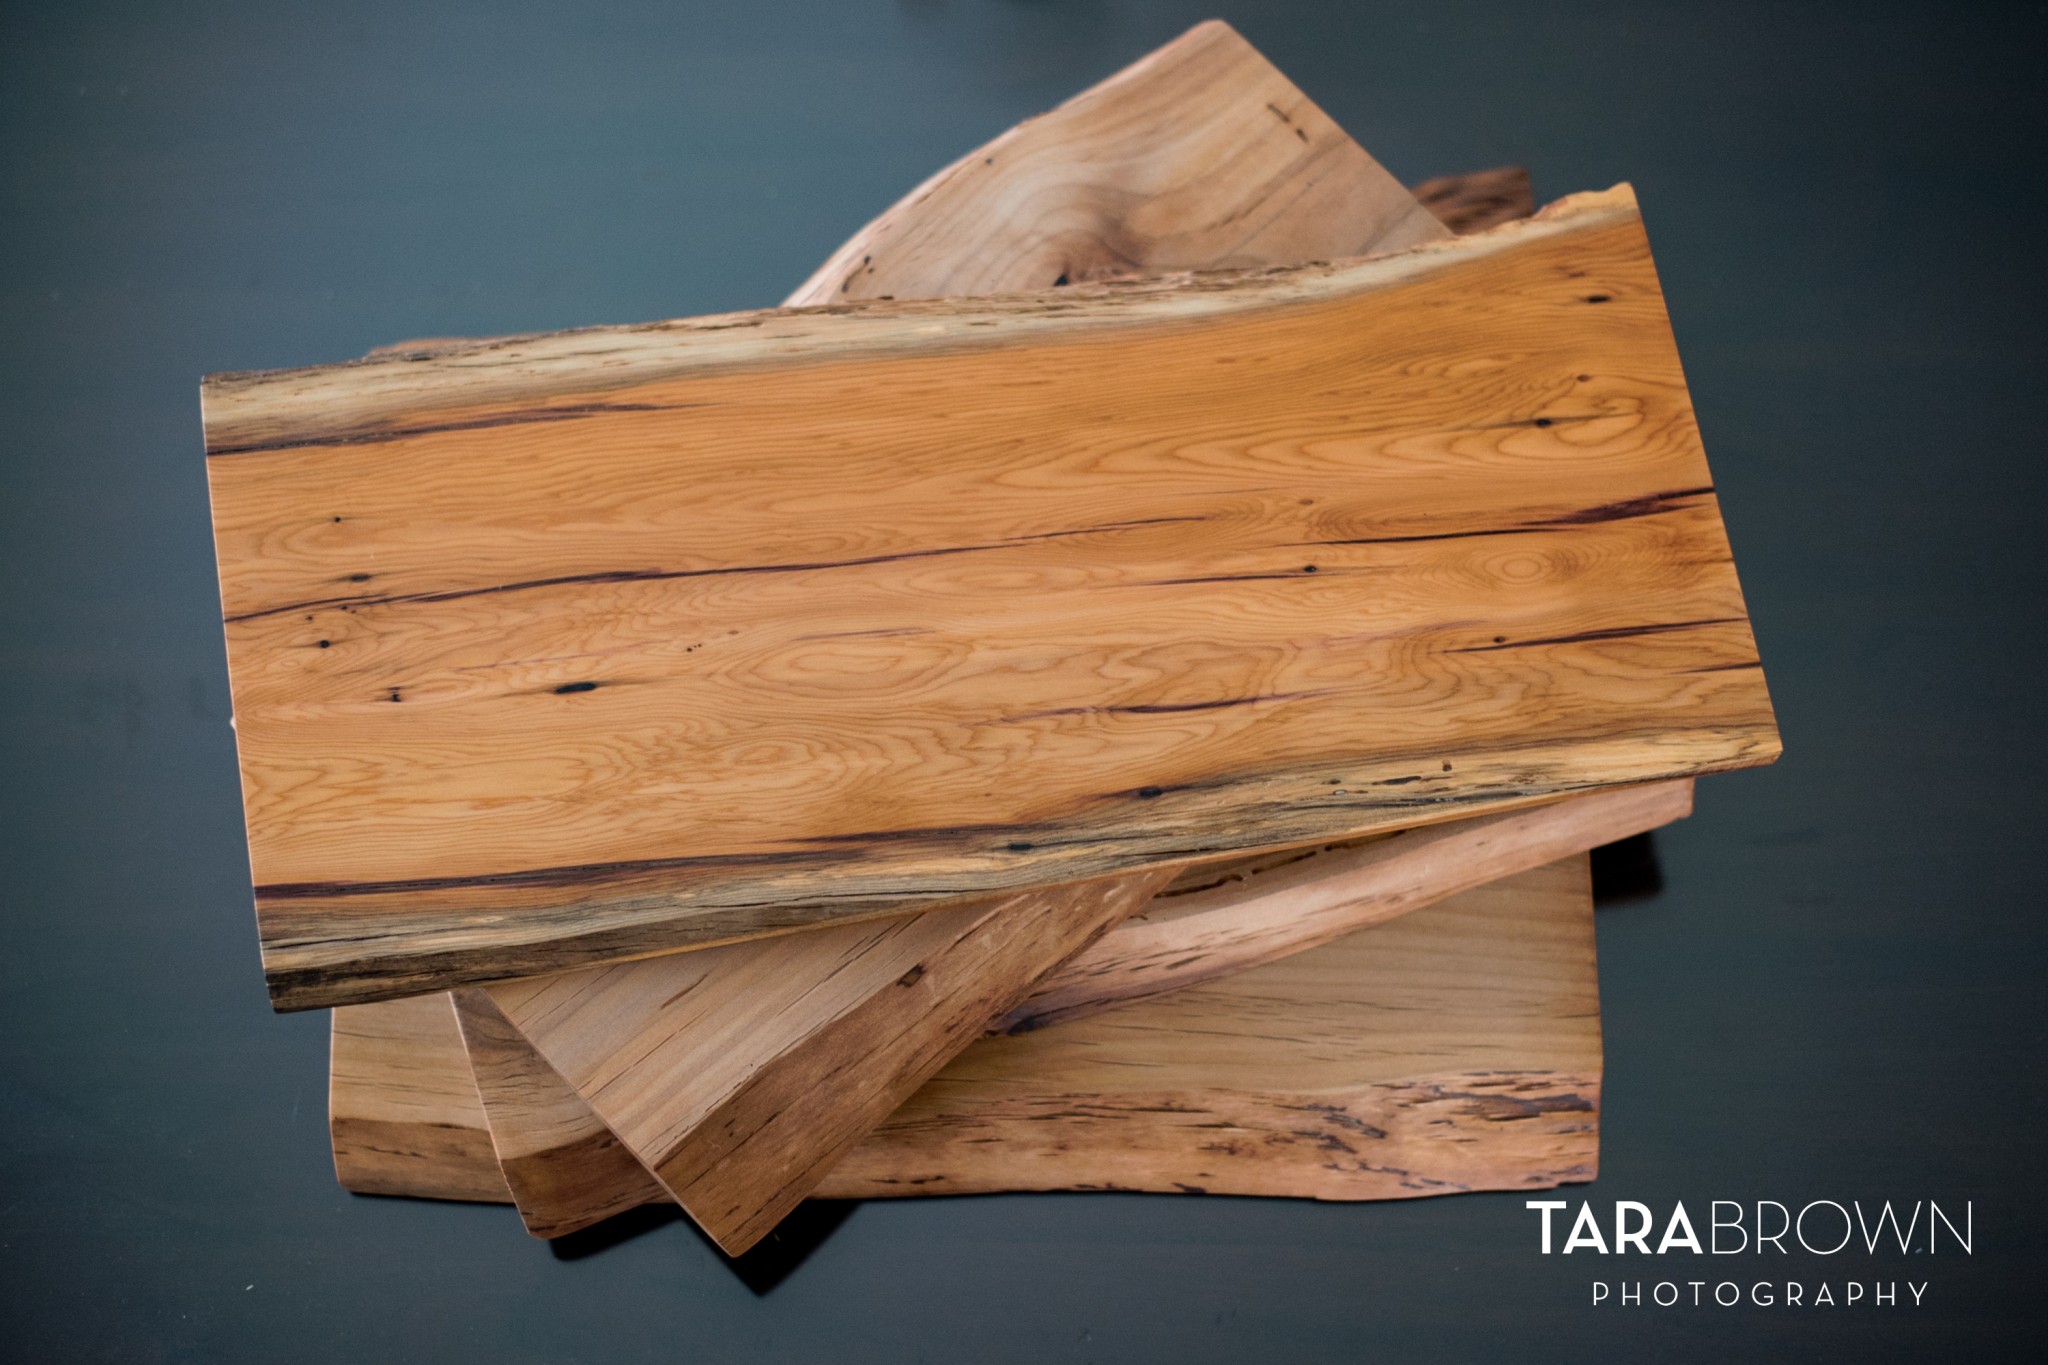
One of the knots filled with epoxy…and I burned my initials and year into the back of each board, lest anyone forget! 🙂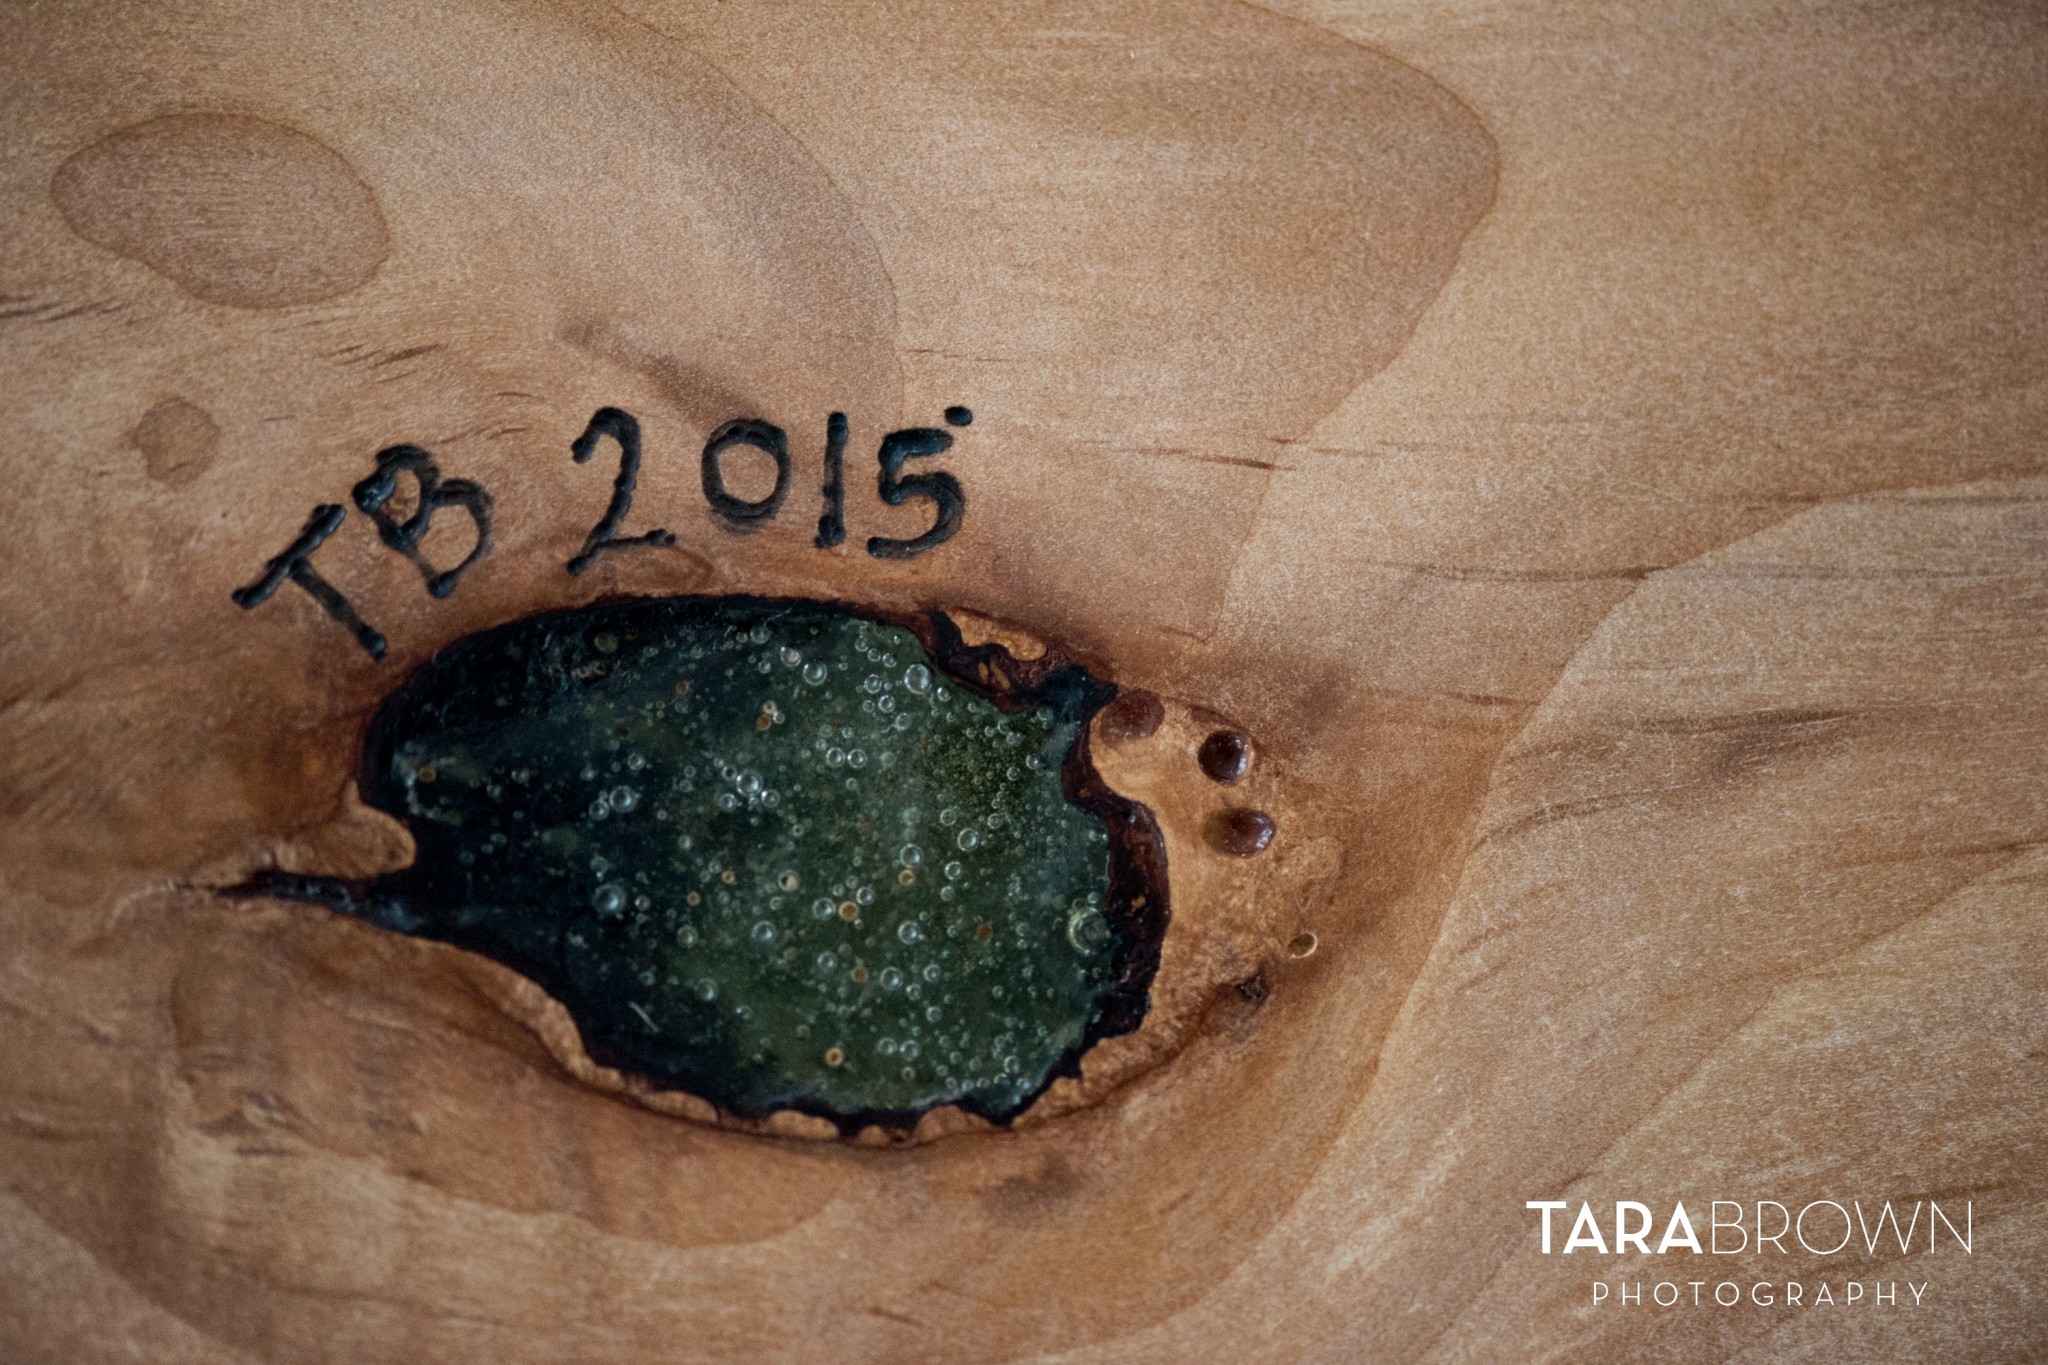
Overall – I LOVED doing this project. And I’m also happy to report that the Mash Record Wines cheese board was well-received by my friend. And now I’m planning for when I can make my own live edge slab table, a bench for my mom, and build my own house. So yeah, stay tuned. 😉
Thank you so, so much to Kim, Jeff and Johannes and Live Edge Woodworks and my buddy Andrew for helping me have such a great time and learn a new skill!

