
Have you ever wondered how photographers make Christmas lights look so pretty in the background? Well wonder no more! I’m here to show what’s going on and how to capture these photos for yourself! (No DSLR? No problem. Scroll to the bottom for iPhone tips.)
Let’s compare…
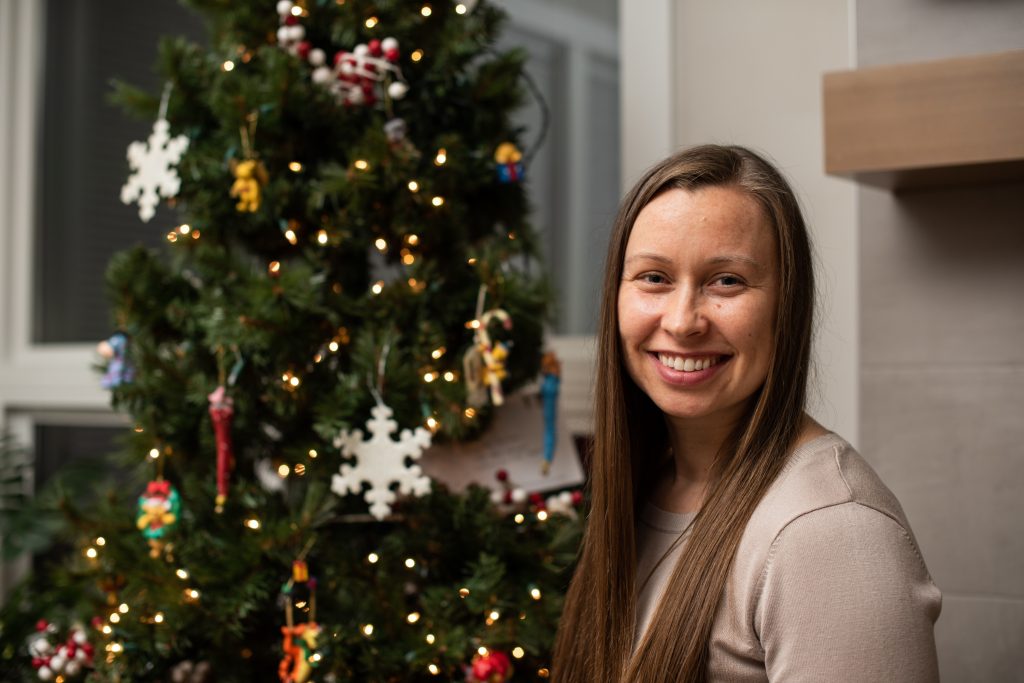
Here are three photos that I took with three different lenses: A 35mm f/1.8, a 50mm f/1.4, and a 70-200mm f/2.8.
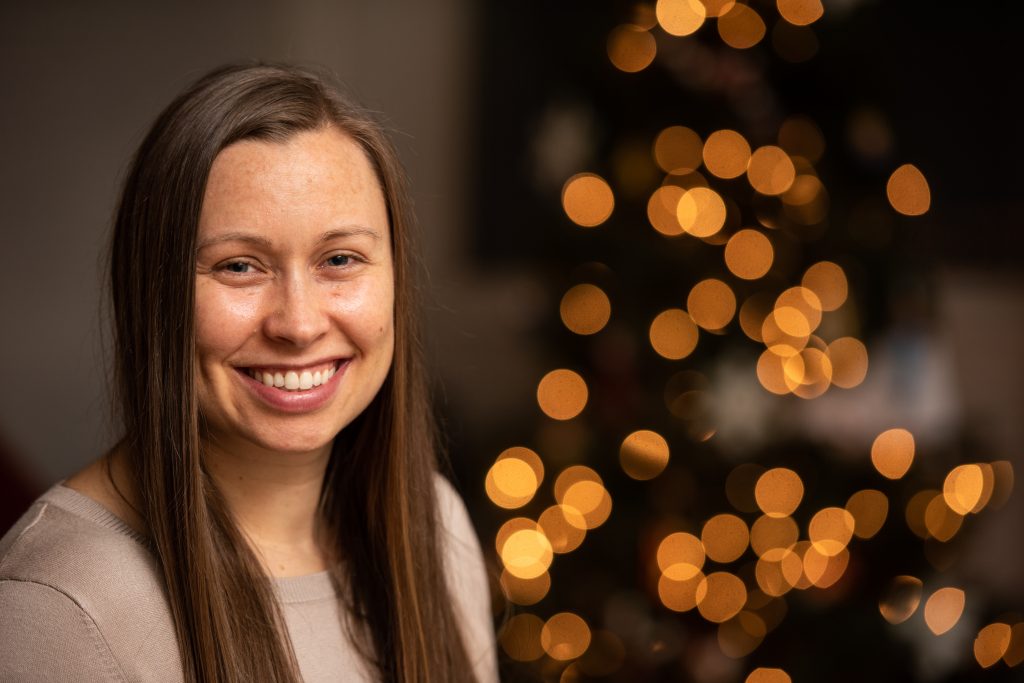

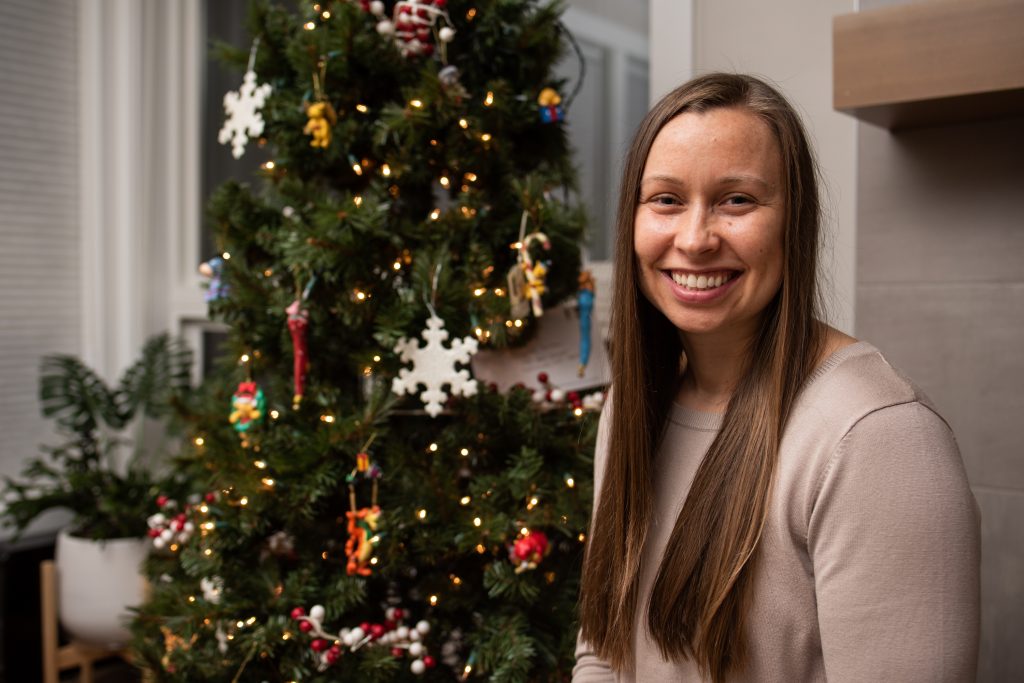
Notice how my body fills relatively the same part of the frame in each photo, with the Christmas tree on the other half. However, the appearance of the tree differs quite a bit! Here’s why:
First of all, a shallow depth of field is required to make lights blur at all. (Shallow depth of field = wide aperture = low f-stop.) However, when I am close to the tree, as I am with the 35mm, there is not as much distance between me and the tree. Even though my aperture is at f/2.8, I need more distance between me and the tree for the effects to be more drastic.

For the 50mm shot, I actually stayed in the same position, but you will notice the lights are jusssst slightly more blurred because it is a longer focal length compared to 35mm. (And there’s less space around the edges of the photo.)
Now, in order for me to capture an image with my 70-200mm lens and fill the frame similarly to the first two pictures, I had to move a lot farther from the Christmas tree. I didn’t have enough room to zoom my camera out all the way, so this photo was taken at 160mm. I am approximately 15’ away from the tree compared barely 2’ away from the tree in the first two pictures. Check out how different the lights look! So glowing and festive. This effect is caused by lens compression, which I talk about in this video if you’d like to learn what the heck that means.

Takeaways…
Clearly, very different scenes and vibes, and that last shot is when I like the lights the most! So, two main takeaways here. A longer focal length is required for the background compression to happen that will give that beautiful bokeh effect.
The other is that the greater the distance between you and the Christmas lights, the more drastic the depth of field. However, obviously if I had taken a photo 15’ away from the tree with my 35mm or 50mm lens, the tree would appear tiny in the background and you would see more of the surrounding living room. Things to consider.
Your turn!
If you have a DSLR camera at home, give this a shot! With whatever lens or lenses you have, try taking a photo at your shortest focal length and then take one at your longest focal length. I recommend having your aperture at f/2.8 or wider if possible. If your lens doesn’t go that wide, just make it as wide as possible.
If you are taking a group photo, a good rule of thumb is to match your aperture to the number of people in the shot, just to make sure everyone stays in focus. (If this all sounds like complete gobbledygook to you, that’s okay! Shoot me an email and I would be happy to answer your questions.)
Or better yet – join my online course, “Manual Mode Photography for Beginners”! Next class starts January 24, 2022. Are you ready to take your photography skills to the next level? Join me!
A few more examples…
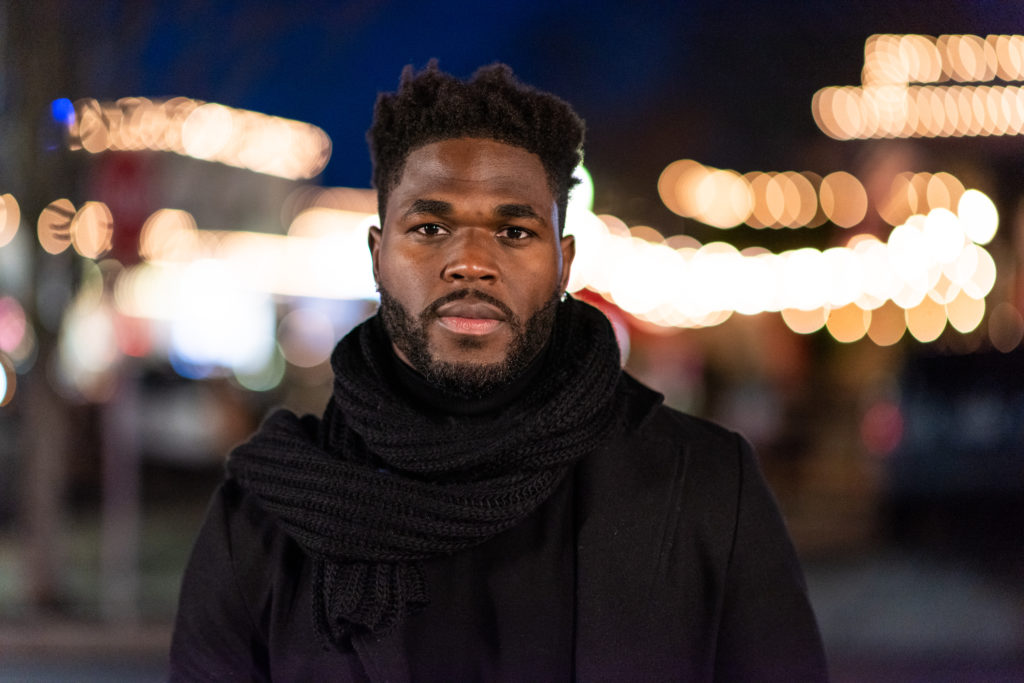
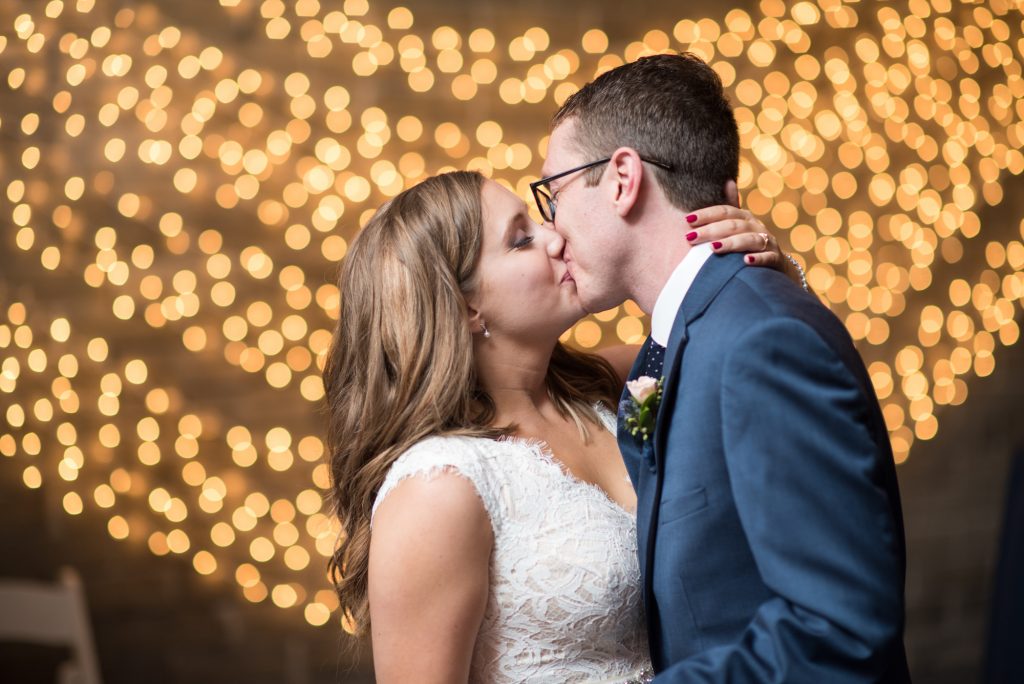
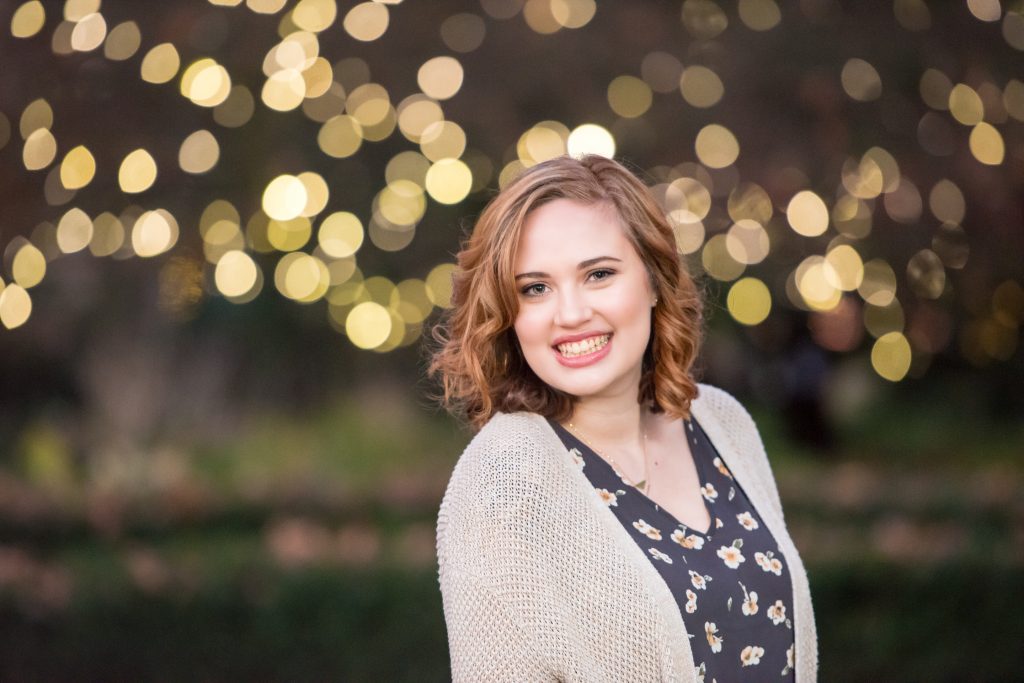
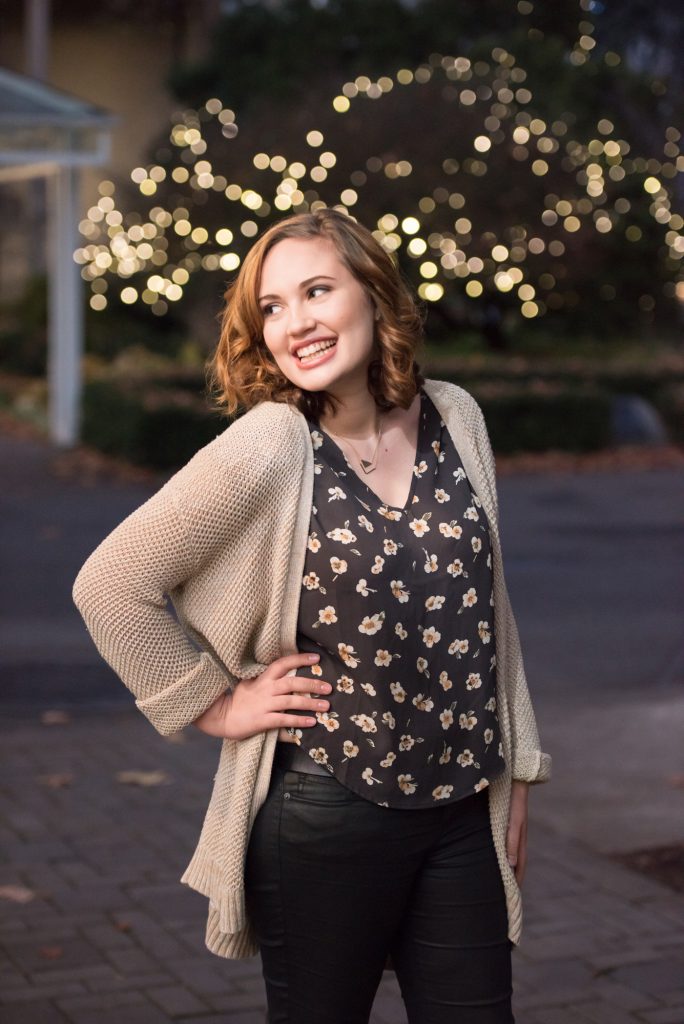
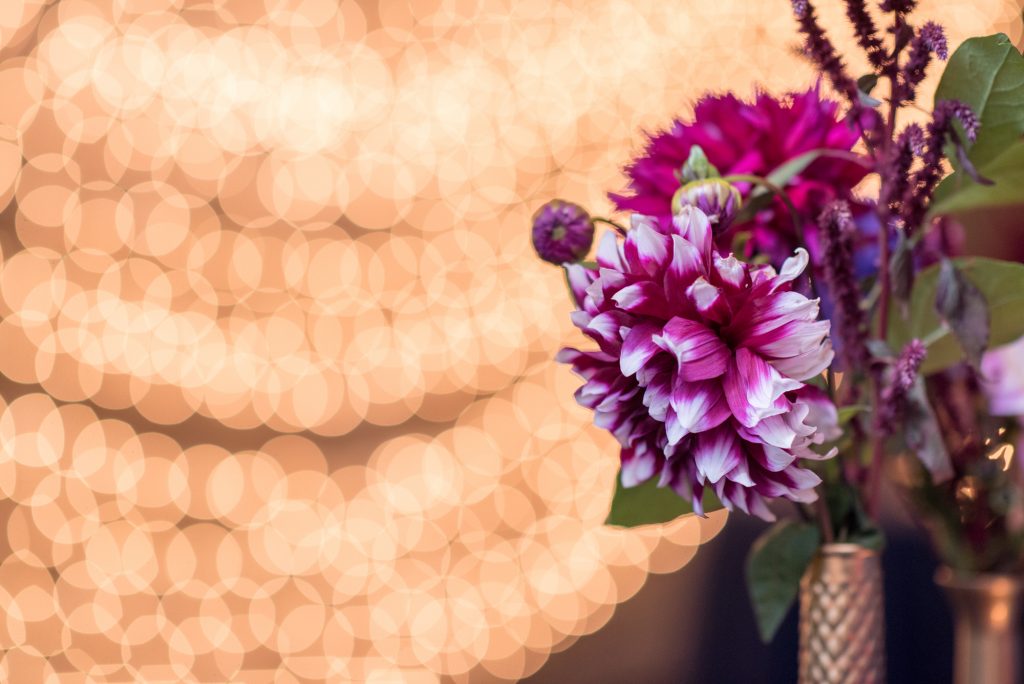
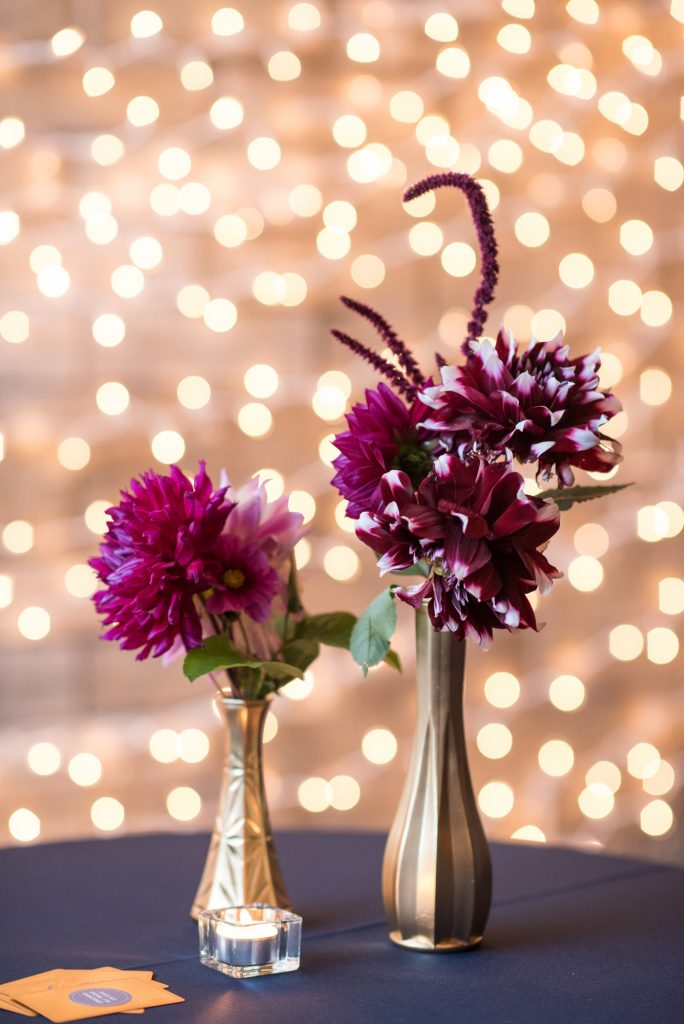
For fun, here are a few other photos that I have taken “out in the wild” and have achieved this pretty background.
Getting the “blurry background” with your iPhone
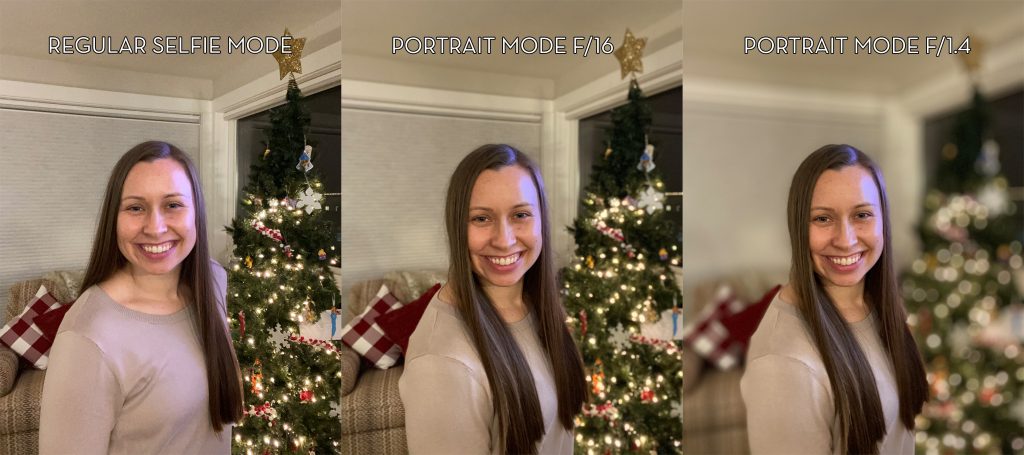
If you don’t have a DSLR but want to try and get this effect with your cell phone, you will need to have portrait mode on your phone. These photos were taken with my iPhone 11 Pro with the selfie camera, the first on the normal photo setting, and the second and third on portrait mode at f/16 and f/1.4, respectively.
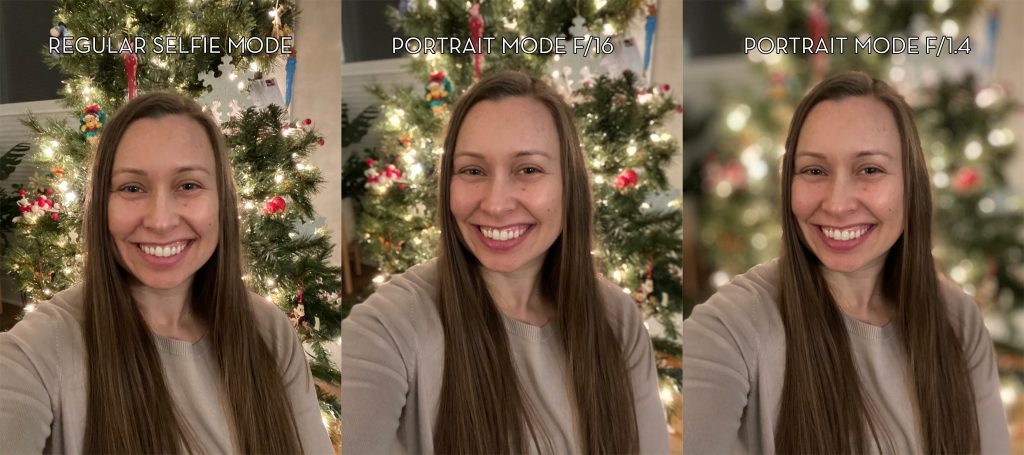
The background blur is caused by portrait mode’s artificial aperture effect, but it still helps separate you from the background and creates a nice blur! You can even play around with adjusting your f-stop on portrait mode to see how the depth of field changes. (Bonus: You can even adjust your f-stop AFTER the fact if you go into your editing options – which is exactly what I did with photos 2 and 3!)
I hope you found this little how-to helpful! Again, feel free to ping me with your questions, or better yet, email me examples of your own photos like this!
Cheers, and happy holidays!

